REVIEW · VIK
Vik: Guided Glacier Hike on Sólheimajökull
Book on GetYourGuide →Operated by David The Guide Iceland · Bookable on GetYourGuide
This glacier walk feels like walking on another planet. You’ll step onto Sólheimajökull near Vik with crampons, an ice-ax briefing, and a trained English guide—enough time on the ice to feel the place, not just pass through.
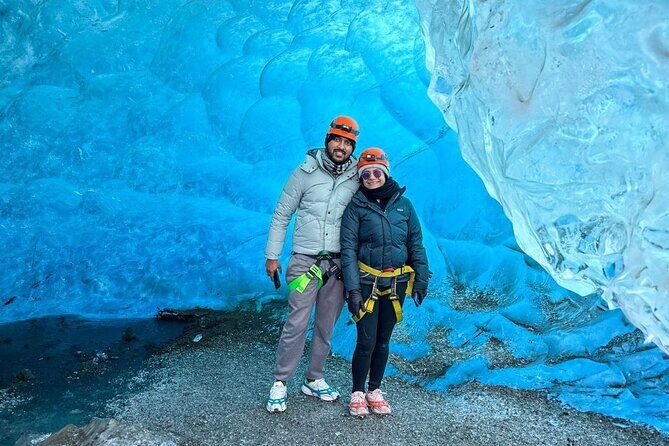
I also love the hands-on details: refill your bottle from meltwater streams and spot dramatic ice features like icicles, towering ice walls, crevasses, and sometimes even ice caves. One consideration: hiking boots are required (sneakers often won’t work with crampons), and the meeting area off Highway 1 can be tricky in rough weather—so arrive early and watch for the David the Guide logo.
In This Review
- Key Things I’d Bet You’ll Enjoy
- Sólheimajökull Starts With Easy Access (For a Real Glacier)
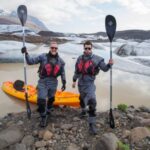
- Gear-Up at Base Camp: Harness, Helmet, Crampons, Ice Ax
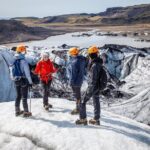
- The Route on Ice: Lagoon to Snowy Surface, With Stops for Crevasses and Caves
- Views That Spread Out: Westman Islands, Black Sands, and Lava Country
- Non-Technical Still Means Real Safety: How Guides Handle the “Otherworldly” Part
- Drinking Meltwater and Learning Glacier Stories (Without the Lecture Tone)
- Price and Value: Is $120 Worth It for 3 Hours on the Ice?
- Meeting Spot Reality Check: Parking Lot Off Highway 1 (Arrive Early)
- What to Bring So You Don’t Feel Miserable
- Who This Glacier Hike Fits Best
- Should You Book This Sólheimajökull Glacier Hike?
- FAQ
- How long is the glacier hike on Sólheimajökull?
- Is this a technical glacier climb?
- What equipment is included?
- What should I wear or bring?
- Where exactly is the meeting point?
- Do I need to bring snacks or water?
- What language are the tours in?
- Is transportation included?
- Who is the tour not suitable for?
- What’s the cancellation policy?
Key Things I’d Bet You’ll Enjoy
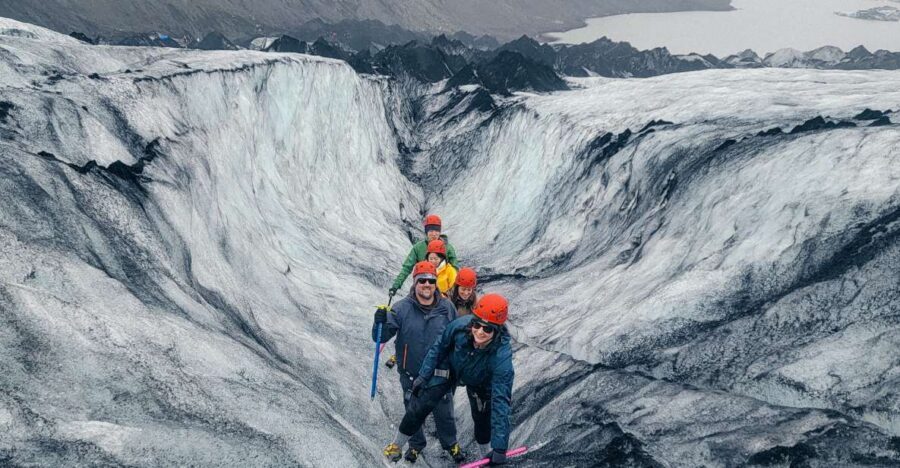
- Real glacier gear included: harness, helmet, crampons, and an ice ax
- Non-technical, first-timer friendly: you’re walking, not scrambling
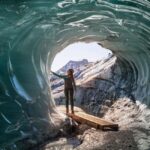
- Photo-heavy ice scenery: icicles, ice walls, crevasses, and occasional ice caves
- Meltwater bottle refill: you can drink glacier water from streams
- Guides who manage the group: steady pacing, safety focus, and lots of explanations
- Small-group feel (often): some hikes feel quiet even when tours exist nearby
Sólheimajökull Starts With Easy Access (For a Real Glacier)
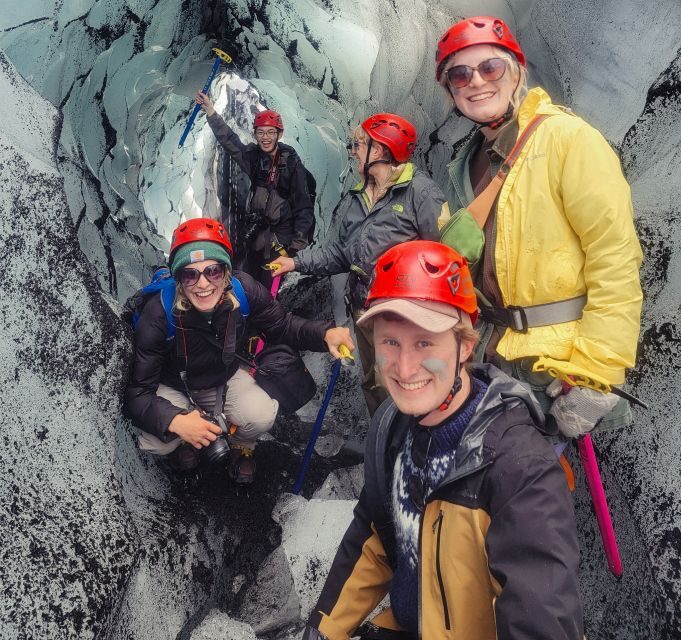
Sólheimajökull is an outlet of Myrdalsjökull, one of Iceland’s biggest ice caps. The nice part for your day is that Sólheimajökull is known for accessible slopes—not “mountain-climb” territory—so you can have a genuine glacier experience without needing technical skills.
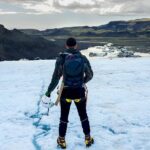
What makes it feel special is the contrast. You begin at the base camp area and move from a murky lagoon zone onto the snowy glacier surface. Then, as you go higher, the ice turns into a changing world of color and texture: white snow shot through with darker ash layers from past eruptions, plus bright ice blues when the light hits the way it does on clear days.
If you like Iceland when it’s raw and unfiltered, this tour hits that sweet spot. You’re not just looking at ice from a viewpoint; you’re walking on it, listening to how the guide explains how glaciers form and why they’re so dynamic.
You can also read our reviews of more guided tours in Vik
Gear-Up at Base Camp: Harness, Helmet, Crampons, Ice Ax
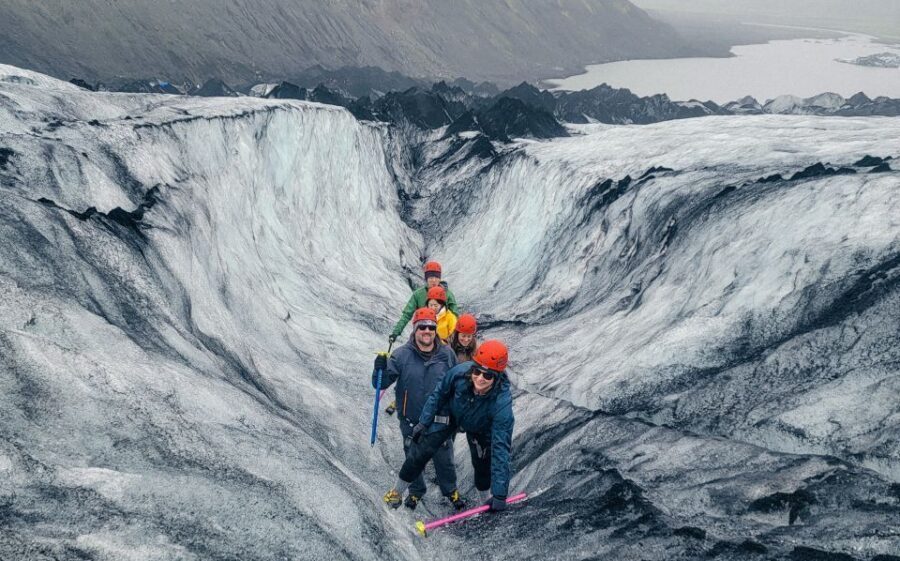
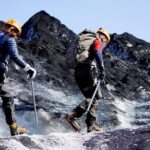
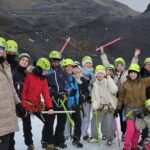
The tour starts when you arrive at the base camp at the foot of Sólheimajökull. This is where the day gets real—because you’re not guessing how to do any of it. Your guide meets you and gets you set up with safety equipment and glacier gear.
Here’s what you should expect to wear and use:
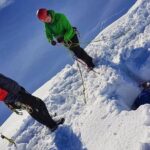
- Harness (so you’re clipped and controlled properly on glacier terrain)
- Helmet (standard glacier safety)
- Crampons (spiked traction for ice)
- Ice ax (your tool on the glacier route)
This is also why you should take boot advice seriously. You’ll want hiking boots; athletic sneakers may not fit properly with crampons. If you don’t have boots, you’ll need to contact the provider ahead of time for rental options—because the right fit is part of staying comfortable and safe.
I like that the process is structured. Guides brief you on route and equipment before you move. In real-world terms, that means you get the “how” you need fast, then you can focus on the “wow” when the glacier starts doing its thing—crystal textures, deep shadows, and those ice formations that look impossible until you’re standing next to them.
The Route on Ice: Lagoon to Snowy Surface, With Stops for Crevasses and Caves
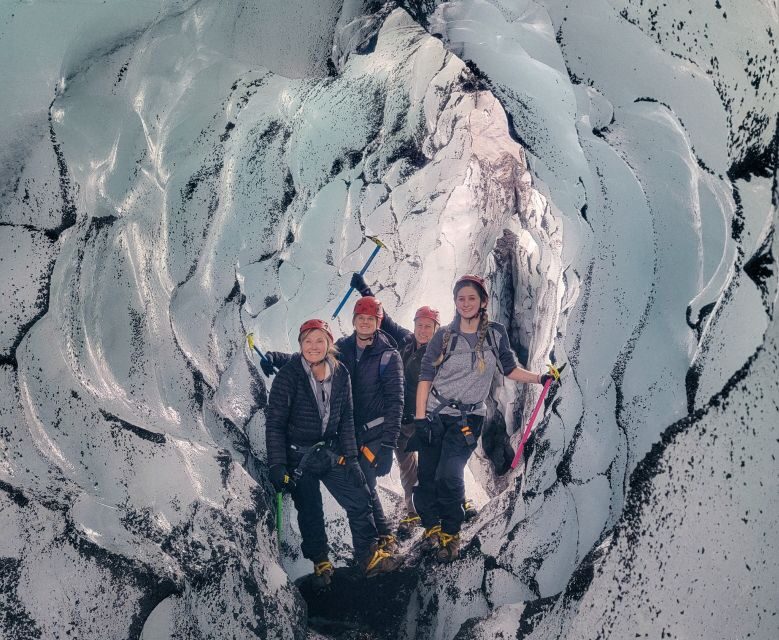
A glacier hike is not one long straight line. The day is paced so you can handle traction, get brief photo moments, and still spend quality time in the ice features.
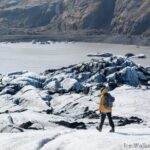
You’ll start around a murky glacier lagoon and then head onto the glacier’s snowy surface. That initial shift matters. The lagoon area can feel strange in color and light, and it also helps you ease into the day before you’re fully on sharp traction.
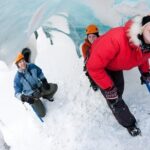
From there, you’ll see glacier features around each turn, including:
- glistening icicles
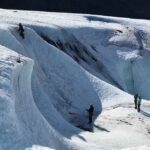
- towering ice walls
- deep crevasses
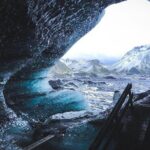
- sometimes winding ice caves
One of the underrated parts here is that you don’t have to identify the right spot yourself. Guides read the terrain and take you to areas you’d likely miss if you went solo. That’s backed up by the way many people describe the day as organized but relaxed: you get time on the ice to actually look, not just keep walking.
Also, weather changes the experience. If rain or cold sets in, expect extra chill and wet patches on the route. A few people specifically recommended waterproof clothes and shoes, so I’d plan for damp conditions even if the forecast seems “fine” on the drive down.
Views That Spread Out: Westman Islands, Black Sands, and Lava Country
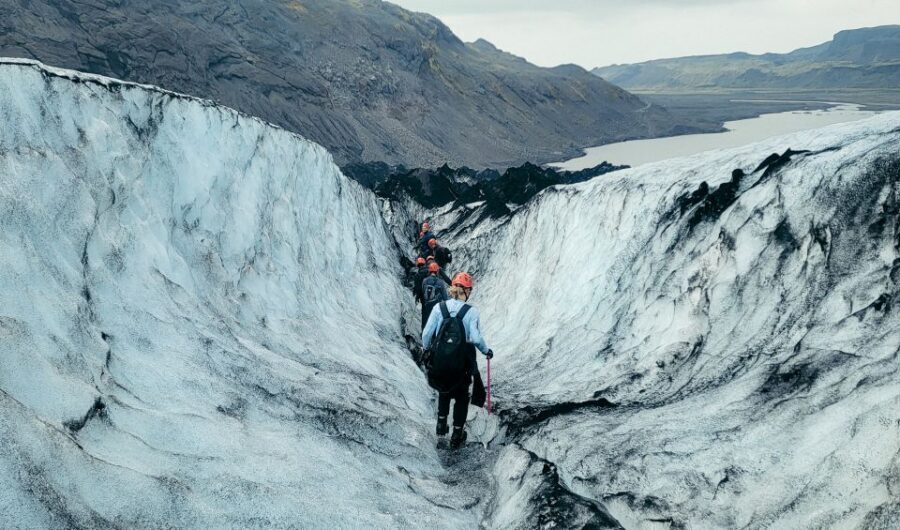
This is one of those tours where you start with “cool” and end with “wait, is that really where I’m seeing from?”
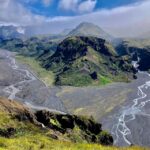
As you ascend, your viewpoints widen. In clear weather, your guide’s route and timing can give you views over:
- dramatic mountains
- the Westman Islands
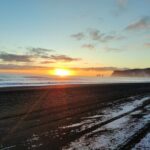
- the black sands of Iceland’s South Coast
- lava landscapes
You’ll feel this most during photo stops. The guides aim for picturesque spots and will take photos of your group. Some hikes are quieter than others—one person noted how the glacier felt relatively calm, so it didn’t feel like a crowded photo factory. Even if other groups are around, a good guide manages spacing so you still get that moody, open-glacier feeling.
One fun practical bonus: you can point your camera at a rock, a wall, a crevasse edge, or your own footprint in the snow. Crampons leave marks; ice colors shift; the textures are different every few minutes.
Non-Technical Still Means Real Safety: How Guides Handle the “Otherworldly” Part
The tour is described as a non-technical glacier hike, and that’s true in the sense that you’re walking with proper traction, not climbing. But “non-technical” doesn’t mean casual. Glacier travel has hazards, and you’ll feel that respect in the way your guide runs the day.
You’ll get a safety briefing and clear route guidance before moving. Guides are trained to handle potential circumstances on Iceland’s glaciers, and they keep the group together so nobody wanders off the intended path.
What stood out in people’s experiences is how guides keep pace firm but comfortable, then adjust if someone needs help. Several people mentioned guides being calm and patient, including one who offered extra support on the way down when a knee was hurting. That kind of attention makes a difference when the ground is uneven and your body’s asking questions you didn’t expect.
My advice: treat the glacier like a place with rules, not a place for improvisation. If your guide says hold back, stop where they point, or stay in line on traction, listen. It’s not about fear—it’s about keeping your day fun and safe.
You can also read our reviews of more hiking tours in Vik
Drinking Meltwater and Learning Glacier Stories (Without the Lecture Tone)
The glacier is hands-on here. You can refill your water bottle in pure freshwater streams as the ice melts. It’s one of those small moments that makes the tour feel real, not staged.
And you’ll learn during the walk. Your guide explains how glaciers form, why Iceland is so known for them, and the dangers glaciers face. You’ll also hear how you can help protect them for future generations.
The learning part isn’t just facts on ice. It’s tied to what you see. When you’re staring at layered snow and darker ash veins, it’s easier to understand what the guide is talking about. When you’re near ice walls and crevasses, the “why it’s changing” message lands differently.
A quick note on expectations: one person felt the scientific explanation could have been more accurate. That doesn’t mean the day isn’t worth it; it just means if you’re a glaciology nerd, you might wish for more technical detail from every guide. For most people, the balance of safety, scenery, and clear storytelling works well.
Price and Value: Is $120 Worth It for 3 Hours on the Ice?
$120 per person for about three hours doesn’t sound cheap until you break down what you’re getting: a trained guide plus safety equipment (harness, helmet, crampons, ice ax) and access to a route you wouldn’t attempt on your own.
The value comes from three things:
- You buy time on the glacier with the right traction. Crampons and proper guidance turn a risky surface into a safe walk you can actually enjoy.
- You avoid guessing. Glacier terrain is not intuitive. Guides keep you on a safe path and show features that would take serious experience to find.
- You get a structured photo and scenery plan. You’re not rushing between viewpoints; you’re stopping where it matters.
What’s not included is also part of the calculation. Snacks and beverages aren’t provided, and transportation to the meeting location is on you. If you’re coming from Vik, plan to drive or arrange your transfer so you’re not scrambling right before gear fitting.
In my book, this is a classic Iceland value: you’re paying for safety, equipment, and a guide who knows how to turn a strange natural setting into a memorable walk.
Meeting Spot Reality Check: Parking Lot Off Highway 1 (Arrive Early)
You meet in the parking lot at Solheimajökull Glacier, about 20 meters off Ring Road (Highway 1) near Vik. Your guide will have a David the Guide logo on their gear.
Arrive at least 20 minutes early. That extra time is not just polite—it helps your guide get you fitted and briefed without chaos.
Now, a practical heads-up: some people noted confusion around meeting instructions in cold or wet conditions. So if it’s raining sideways, don’t assume the obvious. Instead, do a quick scan for the David the Guide logo and confirm you’re at the right pickup area. The difference between a smooth start and a stressful start is often just five minutes of checking.
What to Bring So You Don’t Feel Miserable
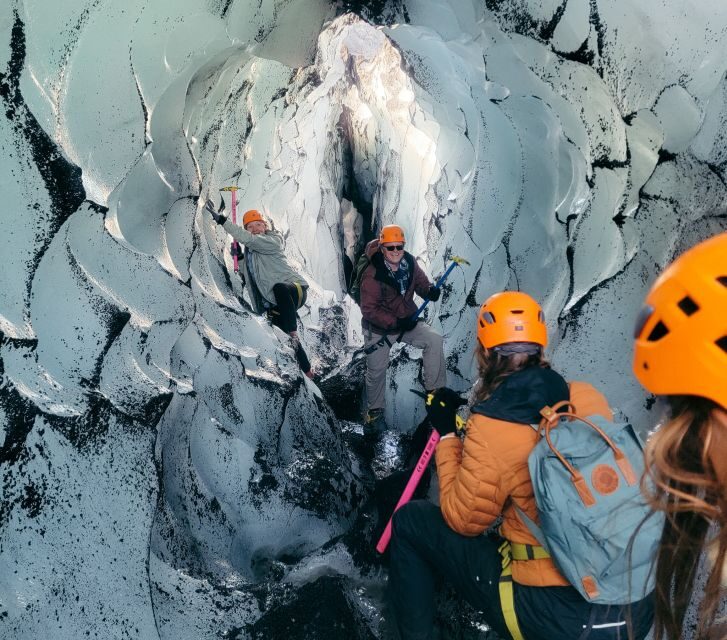
You’ll be on glacier terrain, often in damp or cold conditions. Here’s what the tour data points to, plus what I’d do based on the way people describe the hike:
- Hiking boots required (not just sneakers). Crampons need the right fit.
- Warm layers you can move in. Cold is real once you’re standing on ice.
- Waterproof outer gear. Some areas can be wet, especially with rain in the region.
- A water bottle you don’t mind refilling (you can refill from freshwater streams).
- Your best photo mindset. This is a place where stopping often is worth it.
Also, this tour isn’t right for everyone. It isn’t suitable for children under 8, pregnant women, or people with mobility impairments.
Who This Glacier Hike Fits Best
This is a strong choice if you want:
- a first glacier experience
- a non-technical walk that still feels adventurous
- a guided day with safety gear and thoughtful explanations
- photo stops and enough time to enjoy the ice up close
It may be less ideal if you:
- only own sneakers and aren’t able to get proper boots
- have mobility limitations that affect walking on uneven, icy ground
- want a “view only” experience with zero gear use
Where guides shine, by the way, is in adapting to different comfort levels. People describe guides as patient and encouraging, with calm instruction and a pace that lets you look around. Names that came up include Susanna, Önundur, Jesse, Elias, Norbert, Kamila, Agnieszka, Jonas, and O’Neal. Every guide runs a safety-first day, but the personality tends to land as warm, fun, and focused.
Should You Book This Sólheimajökull Glacier Hike?
If you’re in South Iceland and want a real glacier walk—not a distant photo stop—this is an easy yes. The combination of included safety gear, a trained English guide, and that close-up ice scenery makes the $120 price feel justified for most people.
Book it if you:
- can wear proper hiking boots
- are comfortable walking on uneven icy ground for a few hours
- want glacier stories plus meltwater moments, not just scenery
Consider passing or choosing another option if:
- you don’t have the right footwear and can’t arrange rentals
- you fall into the tour’s not-suitable categories
- you want low-effort, minimal gear travel
If you do book, plan for early arrival, dress for damp cold, and trust the guide’s route. Then go with one goal: look at the ice like it’s alive, because in a way, it is.
FAQ
How long is the glacier hike on Sólheimajökull?
The tour lasts 3 hours.
Is this a technical glacier climb?
No. It’s described as a non-technical glacier hike.
What equipment is included?
You’ll be provided with safety equipment, including a harness, helmet, crampons, and an ice ax.
What should I wear or bring?
Hiking shoes are listed, but hiking boots are required because crampons need a proper fit. If you need boot rental, you’ll have to contact the provider.
Where exactly is the meeting point?
Meet in the parking lot at Solheimajökull Glacier, about 20 meters off Ring Road (Highway 1) near Vik. Your guide will have the David the Guide logo on their gear.
Do I need to bring snacks or water?
Snacks and beverages are not included. You can refill your water bottle from glacier freshwater streams during the hike.
What language are the tours in?
The live tour guide is English.
Is transportation included?
No. Transportation to the meeting location is not included.
Who is the tour not suitable for?
It’s not suitable for children under 8, pregnant women, and people with mobility impairments.
What’s the cancellation policy?
You can cancel up to 24 hours in advance for a full refund.