REVIEW · VIK
Sólheimajökull: Guided Glacier Hike
Book on GetYourGuide →Operated by Arctic Adventures · Bookable on GetYourGuide
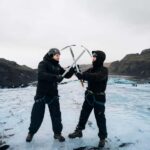
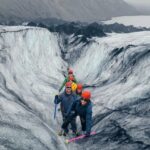
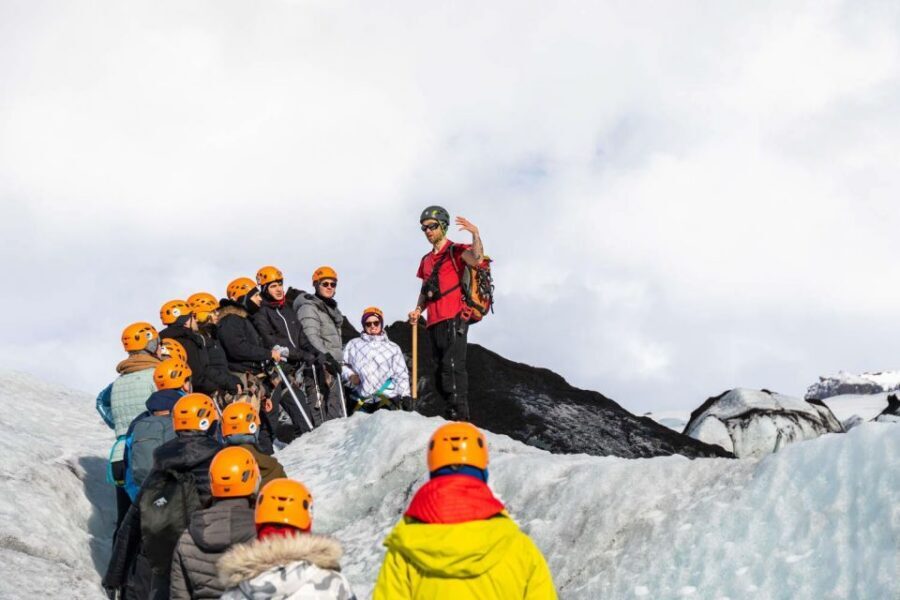
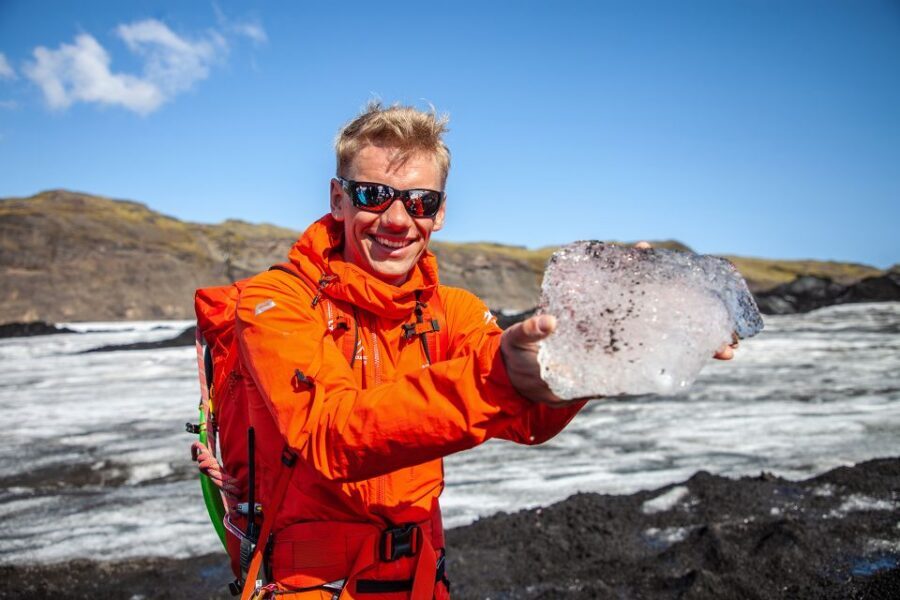
Ice under your feet changes everything. A guided trek on Sólheimajökull is one of those rare Iceland activities where you’re not just watching glaciers, you’re walking through them, with a certified glacier guide pointing out the formations as you go. I especially like how close you get to the glacier’s drama, including crevasses and massive moulins.
I also like the way guides keep things friendly and manageable, often with a small-group feel and a good mix of safety, humor, and facts (names like Steve, Tomas, and Daniel show up in guide praise). One consideration: the experience can run more moderate than people expect, and there are practical limits—minimum age 8 and a crampon shoe size range (35–50 EU) to make sure the gear fits correctly.
In This Review
- Key highlights worth planning around
- Why Sólheimajökull feels different from other Iceland tours
- Getting there and meeting your guide at the big yellow bus
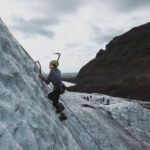
- Gear-up time: crampons, helmets, and ice axes
- What you’ll do on the ice: crevasses, moulins, and glacier milling
- Crevasses: the glacier’s cracks, up close
- Moulins: the dramatic funnels of ice
- Ice cave tunnels and the glacier lagoon feel
- How long is the hike, and why that range matters
- Difficulty: it’s friendly, but it’s still glacier walking
- Weather and safety: why the guide makes the difference
- Family planning and the crampon shoe-size rule
- Price and value: is $116 per person worth it?
- Who should book this glacier hike (and who should skip it)
- Final verdict: should you book Sólheimajökull Guided Glacier Hike?
- FAQ
- Where do I meet for the Sólheimajökull glacier hike?
- What’s included in the tour price?
- What should I bring or wear?
- How old do you have to be?
- Is it suitable for pregnant women?
- Is there a shoe size requirement for crampons?
- How long is the tour?
Key highlights worth planning around
- Certified guide explanations on real glacier features like moulins and crevasses
- Crampons, helmets, and ice axes included, so you’re not trying to figure gear out on the fly
- Small-group pace that helps you spend more time on the ice and less time waiting
- Ice-tunnel and glacier-lagoon moments that make the hike feel like a full experience, not just a walk
- A family-friendly glacier outing with a clear minimum age rule (8+)
- Weather-proof wonder: rain or flat light can still produce great ice views with the right guide
Why Sólheimajökull feels different from other Iceland tours
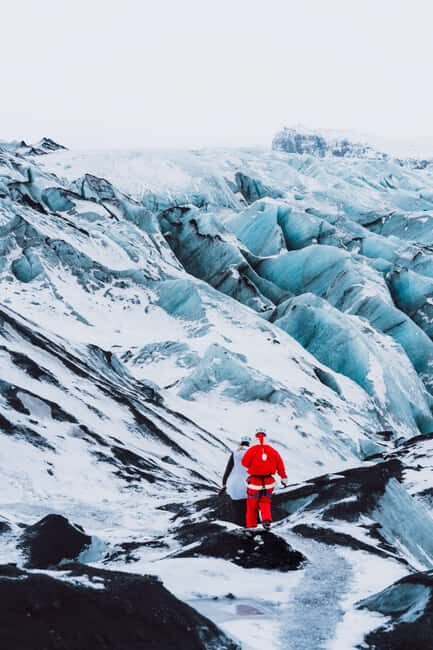
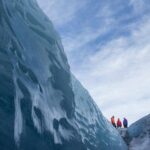
Sólheimajökull Glacier is famous for good reason, but what makes this guided hike special is the how—you step onto the ice and move through the same kind of terrain scientists talk about, only you do it with gear and guidance. The best part is that the glacier isn’t presented as a single frozen blob. You’re taught to notice the ice’s features as they appear in front of you.
Your guides focus on what you can actually see in the moment: the crevasses that look like jagged lines from a distance but turn into deep, real gaps when you’re nearby. You also get explanations about glacier formation and movement, so the scenery turns into something you can understand, not just photograph.
And yes, it’s also genuinely a fun day out. The vibe in the guide-led groups tends to be light—without turning unsafe. You’ll hear jokes, but you’ll also get clear instructions on how to walk with crampons and how to stay aware of where everyone is going.
You can also read our reviews of more guided tours in Vik
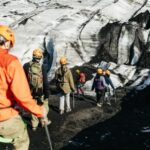
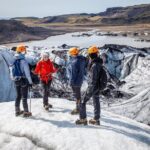
Getting there and meeting your guide at the big yellow bus
The tour starts at the Sólheimajökull car park, and the meeting spot is easy to spot: by the big yellow school bus. I like meeting points like this because you don’t have to guess where the group is or chase down a vague address.
Plan to arrive at least 15 minutes early so you have time to find your guide, check in, and not feel rushed before you get geared up. Also, give yourself a real buffer for driving. The route can be weather-sensitive, and you’re responsible for being on time.
Once you’re there, the experience is designed to move fast in a good way. You meet your certified glacier guide, you get outfitted, and then you’re walking toward the glacier instead of spending the morning sitting around.
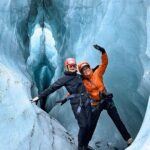
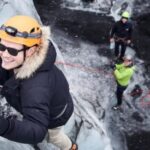
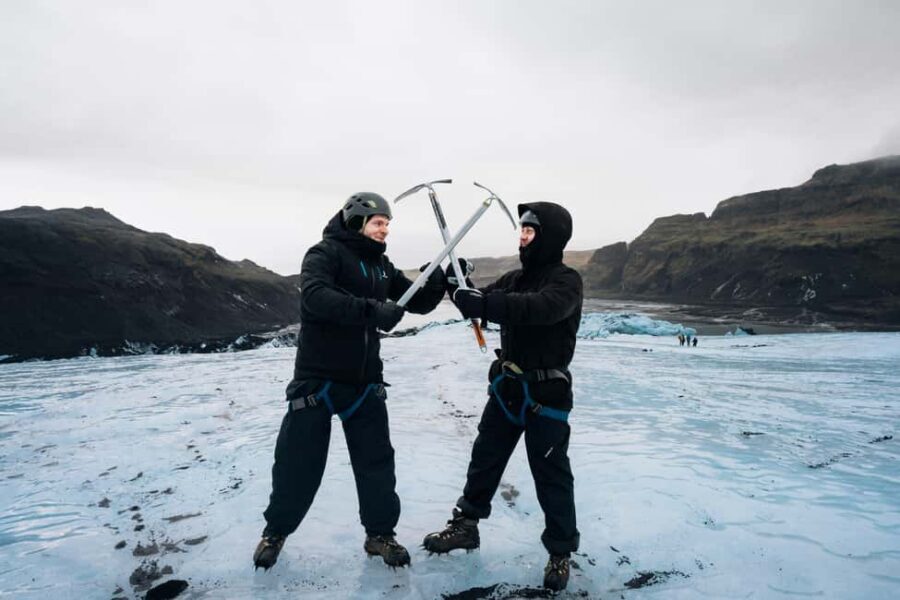
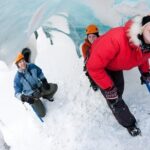
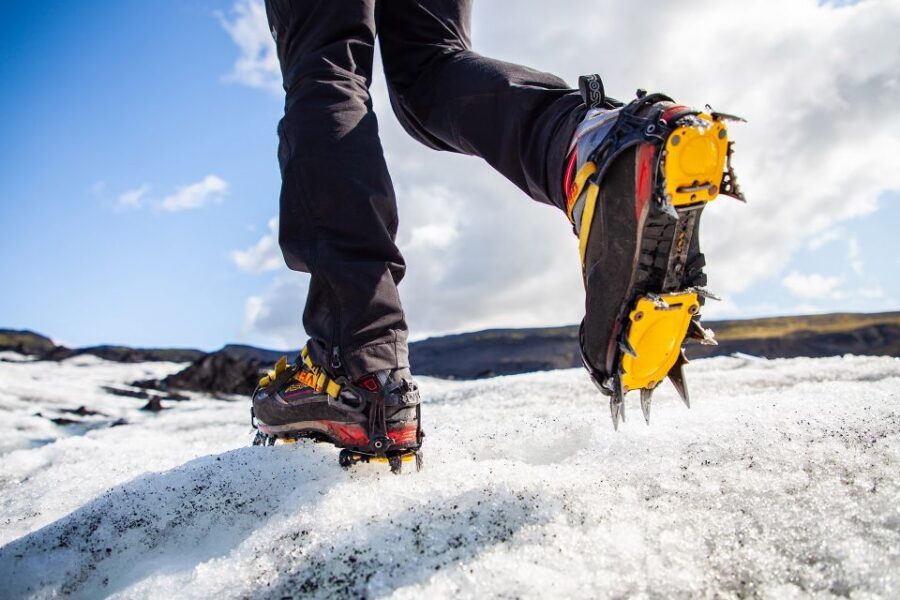
Gear-up time: crampons, helmets, and ice axes
This tour includes the full safety kit for walking the glacier: crampons, an ice axe, and a helmet. That matters more than it sounds. In Iceland, everyone has opinions about boots and traction, but the honest truth is that glacier walking is a gear-and-procedure activity. Getting the equipment right helps you focus on enjoying the ice, not fighting your footing.
What you should know in advance:
- The tour requires a minimum age of 8.
- There’s a crampon shoe fit requirement: minimum EU shoe size 35 and maximum EU shoe size 50.
Also, the tour does not include your regular hiking clothing. You’ll want proper hiking shoes and waterproof pants and a waterproof jacket. If you don’t have them, the listing notes these can be rented, but it’s still smart to budget for that decision.
If you’re the type who likes showing up prepared, this is one of the easier tours to prep for. The critical safety stuff is provided. Your job is just to wear the right base gear and arrive ready.
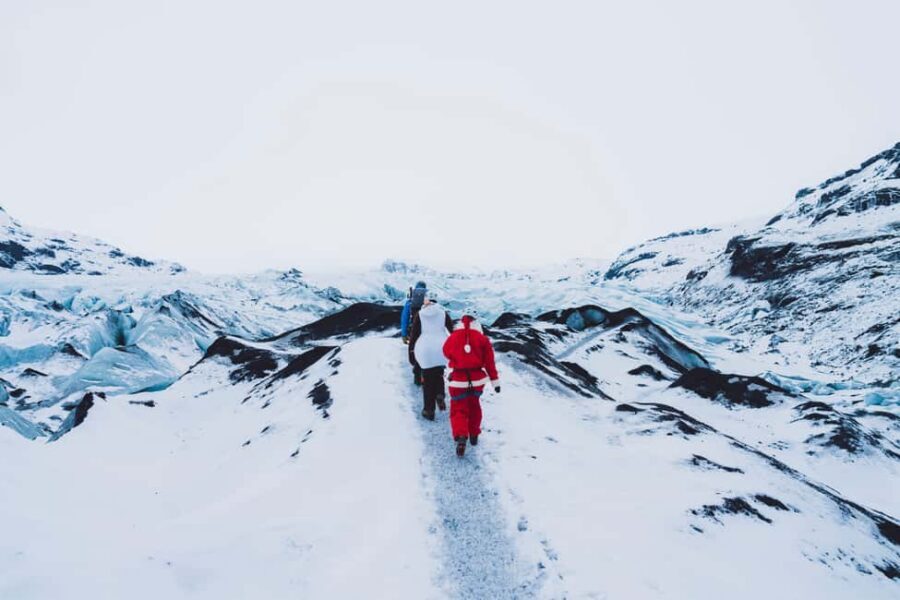
What you’ll do on the ice: crevasses, moulins, and glacier milling
Once you’re on the glacier, the hike is your classroom. You’ll be moving across the ice while your guide explains what you’re looking at—so the “wow” moments come with context.
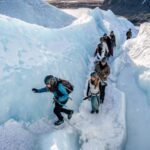
Crevasses: the glacier’s cracks, up close
Crevasses are often the main headline because they look unreal. Up close, though, you’ll understand why they form where they do and why they matter for how glaciers move. Your guide helps you spot patterns and teaches you what you can safely observe from your walking route.
You can also read our reviews of more hiking tours in Vik
Moulins: the dramatic funnels of ice
You’ll also hear about moulins, which are ice features created by water cutting downward through the glacier. A lot of people expect a flat sheet. Instead, you see how active and layered the ice can be—especially when the guide points out where water flow would be or how the structure changes.
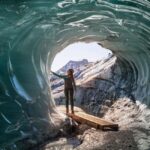
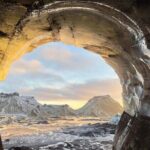
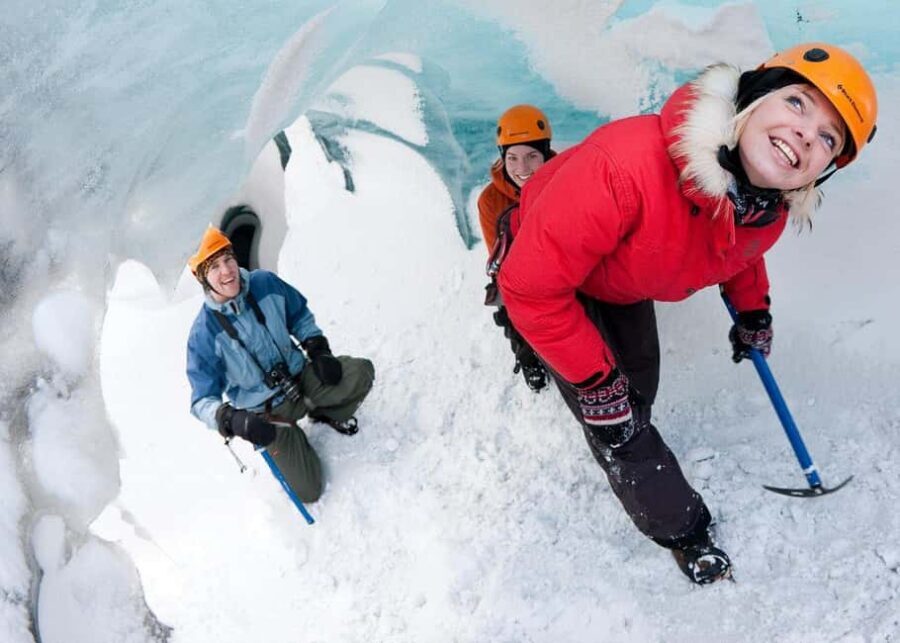
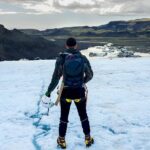
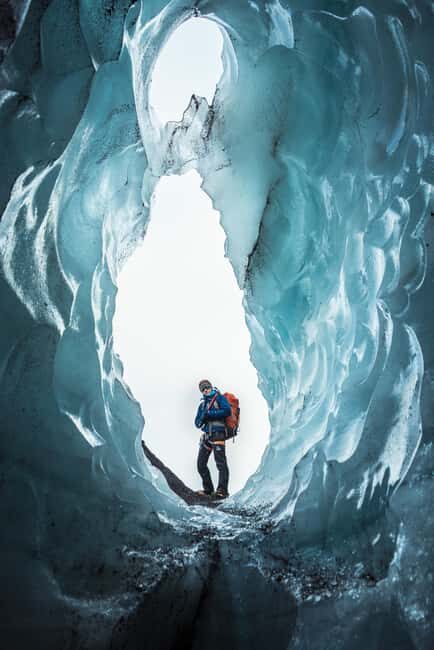
Ice cave tunnels and the glacier lagoon feel
The experience can include ice cave tunnels and an amazing glacier lagoon moment. Even if you don’t think you’ll be the “ice cave” person, these stops are part of what makes this hike feel like more than a standard glacier photo stop. You’ll get a change in scenery and a different kind of ice texture to look at—something you can’t get from the viewpoint parking area.
The guides are also timing your experience for a reason: to help you see key features while keeping the group safe and together.
How long is the hike, and why that range matters
The duration is listed as 3 to 12 hours, depending on starting times and conditions. That’s a wide range, and it can affect how you plan the rest of your day.
If you’re trying to pack a tight itinerary, pick a shorter departure time so you don’t end up with a late-arriving afternoon. If you want a slower, more photo-friendly experience, longer options generally give more time on the ice. Either way, you’re outside and exposed, so plan on weather changing and bring layers even when it looks okay at the start.
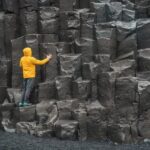
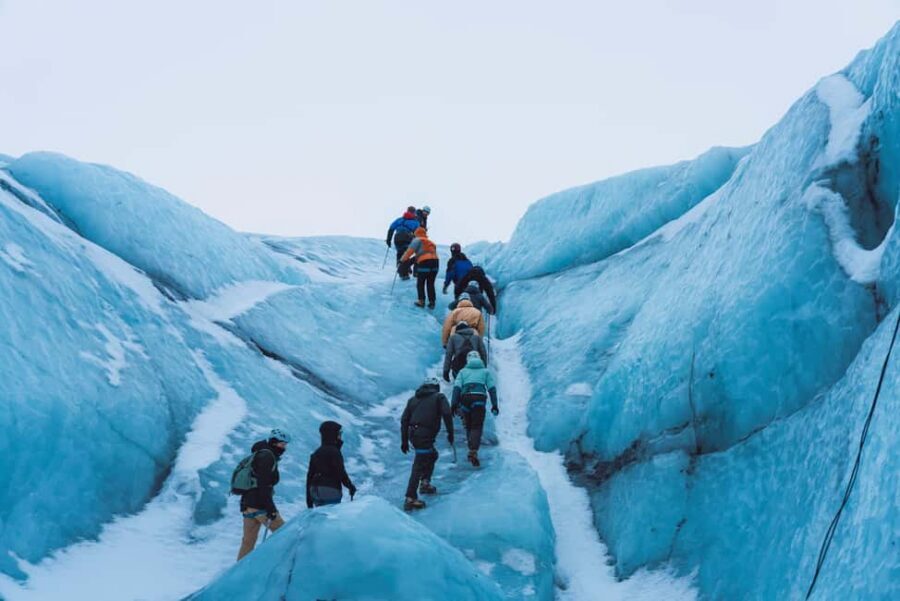
Difficulty: it’s friendly, but it’s still glacier walking
This is described as a family-friendly hike, and the minimum age is 8. For many people, it won’t feel like a hard mountaineering day because you’re guided, equipped, and taught how to move on traction.
But here’s the honest part: the hike may include steep sections, and what counts as easy can depend on your fitness level and balance. One of the most repeated themes in the guide-led experiences is encouragement—guides coaching people who find it mentally challenging or physically tiring partway through.
Your best strategy is simple:
- Go at the group pace.
- Ask questions early.
- Don’t fight your crampons. Learn the rhythm quickly and you’ll feel more confident.
If you’re comfortable with walking on uneven ground in traction gear, you’re likely to be fine. If you’re expecting a flat nature walk, adjust your expectations.
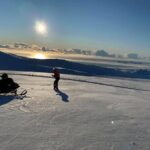
Weather and safety: why the guide makes the difference
Glaciers don’t care about your itinerary. Weather changes fast in the southern region, and the tour still runs when possible. Rain or low visibility doesn’t ruin the day; it just changes what you notice and how the ice looks.
What you’ll want from the guide is consistent procedure: checking the group, keeping distance from hazards, and making sure everyone has the right stance before moving. The guide culture here seems strongly focused on this practical safety approach, and it comes through in how guides talk to the group.
You’ll also see a pattern in the praised guides: they stay patient, they keep people together, and they manage pace around different comfort levels. Some groups have been around a dozen, which is large enough to have variety but small enough that you’re still moving together instead of waiting for a long line.
Family planning and the crampon shoe-size rule
This tour is not for everyone, and that’s a good thing. Here are the explicit limits:
- Not suitable for children under 8
- Not suitable for pregnant women
- Crampons require shoe sizes EU 35 to 50
The shoe-size detail matters because crampons aren’t one-size-fits-all. If you’re near the edges of the range, you’ll want to double-check shoe measurements before booking.
If you’re traveling as a family, this is one of those activities where the minimum age gives you confidence that guides can manage children safely and keep the group moving. Kids will still need to be ready for cold and for walking in gear, but the goal is a glacier experience that feels reachable, not intimidating.
Price and value: is $116 per person worth it?
At $116 per person, this isn’t a budget add-on. It’s a guided adventure. So you judge value by what you get, not by what you wish was included.
Here’s what you do get:
- A certified glacier guide
- Crampons, ice axe, and helmet (major cost items if you had to rent them elsewhere)
- Time actually on the glacier, including features like crevasses and moulins
- The chance to see glacier lagoon and ice cave tunnel moments (when conditions allow)
What you don’t get:
- Food and drinks
- Hotel pickup and drop-off
- Hiking shoes and waterproof pants/jacket (not included, though rent may be available)
For me, the value looks strongest if you don’t want the hassle of sourcing glacier gear and training yourself how to move safely. You’re paying for safety structure and for learning what you’re seeing. If you already have the right waterproof gear and you’re comfortable with the physical side, it can feel like paying mostly for the guide. If you don’t, it feels like paying for both the expertise and the equipment.
Either way: this is one of the Iceland experiences where you leave with a story that’s hard to fake. You can say you walked a glacier, with real traction underfoot and real guide explanations in your ear.
Who should book this glacier hike (and who should skip it)
Book this tour if:
- You want a glacier experience that’s active, not just a viewpoint stop
- You like guided interpretation—hearing why features exist, not only seeing them
- You’re traveling with family members who meet the 8+ age rule
- You’re okay being outside in changing weather
- You want a small-group feel and a guide who keeps pace and safety balanced
Skip or choose a different option if:
- You don’t meet the crampon shoe-size requirement (EU 35–50) or you’re unsure about fit
- You’re pregnant, since it’s not suitable
- You hate gear-based walking and would rather do a short scenic visit instead
Also, if you’re on a very tight schedule, the 3 to 12 hour duration range means you should check starting times carefully before committing. Pick the block that matches how you want your day to flow.
Final verdict: should you book Sólheimajökull Guided Glacier Hike?
I think this is a strong booking for anyone who wants real glacier time with a guide who knows how to explain what you’re seeing and keep you safe. It’s family-friendly by glacier standards, gear is included, and the features you’ll encounter—crevasses, moulins, and potentially ice tunnel and lagoon moments—make it feel like you didn’t just visit Iceland’s glacier section. You walked inside it.
If you’re the type who gets cold easily, double down on waterproof layers and plan on using what’s available. And if you’re expecting an easy stroll, adjust your mindset to glacier walking: short bouts can feel steep, and mental confidence grows with each step your guide helps you take.
If those points fit you, this is one of the best ways to get beyond photos and actually understand the ice.
FAQ
Where do I meet for the Sólheimajökull glacier hike?
You meet at the Sólheimajökull parking lot, by the big yellow school bus. Plan to arrive at least 15 minutes early to find your guide.
What’s included in the tour price?
The tour includes the hike on the Sólheimajökull Glacier, a tour guide, crampons, an ice axe, and a helmet.
What should I bring or wear?
The tour does not include hiking shoes or waterproof pants and a waterproof jacket (these may be available for rent). Wear appropriate hiking footwear that fits the crampon requirement.
How old do you have to be?
The minimum age to take part is 8 years old. It is not suitable for children under 8.
Is it suitable for pregnant women?
No. The activity is not suitable for pregnant women.
Is there a shoe size requirement for crampons?
Yes. To attach crampons, the participant must have a minimum shoe size of EU 35 and a largest shoe size of EU 50.
How long is the tour?
The duration is listed as 3 to 12 hours, depending on starting times and availability.