REVIEW · REYKJAVIK
Sólheimajökull Ice Climbing Tour
Book on GetYourGuide →Operated by north ice · Bookable on GetYourGuide
Ice climbing on a glacier sounds unreal. This Sólheimajökull tour makes it real with beginner-friendly teaching on real ice.
I also like that the group stays small, so the guide can watch your footing and adjust fast.
What makes this day worth planning is how the skills build step-by-step. You start with a simple ice wall to learn how crampons and an ice axe work, then you move to new climbing spots so you can actually practice what you were taught, not just pose for photos.
One thing to consider: transport and key cold-weather clothing aren’t included. You’ll need to bring warm, waterproof layers (and ideally add hat and gloves yourself) because you’ll be on glacier ice in Icelandic conditions.
In This Review
- Quick hits before you go
- Sólheimajökull, in plain terms: why this glacier works for beginners
- The drive and meeting point: what to plan for before the glacier gear
- Parking lot gear setup: crampons, harness, helmet, then your first lesson
- The 15-minute gravel hike: where you learn the pace you’ll need
- Training on the first ice wall: the moment it clicks
- Moving between climbing spots: exploring the glacier without wasting time
- Walls plus the mulian ice hole: more variety than you expect
- Getting the right guide attention in a group of 5
- South-coast waterfall stops: Skógarfoss and Seljalandsfoss in one day
- Weather reality: bring the right gear so the day stays fun
- Is it hard? What beginner really means here
- Price and value: $294 for gear, instruction, and real ice time
- Who should book this Sólheimajökull ice climbing tour?
- Should you book it? My decision checklist
- FAQ
- FAQ
- What’s the duration of the Sólheimajökull Ice Climbing Tour?
- How much does the tour cost?
- What’s included in the tour price?
- Is transport included?
- What do I need to bring?
- Is this tour beginner-friendly?
- What are the climbing stops like?
- Is the tour suitable for everyone?
Quick hits before you go
- Short walk in, big payoff: about a 15-minute hike from the parking lot to reach the glacier base.
- Real climbing progression: an easy wall first, then harder variations at multiple spots.
- Multiple tries at different features: walls and a climb in an ice hole (called a mulian).
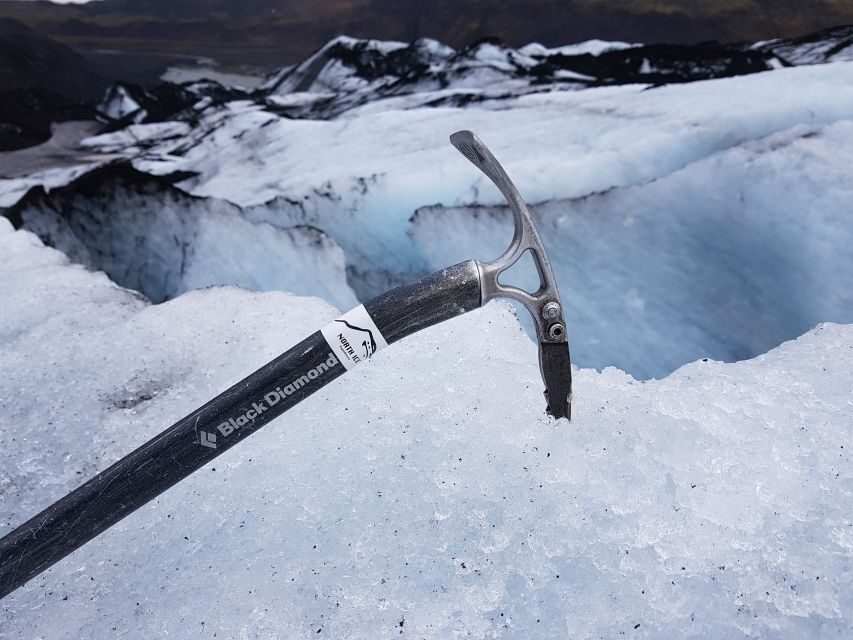
- Gear is provided: harness, crampons, helmet, and ice axe, fitted by the guide.
- Small group, real attention: limited to 5 participants, so you’re not stuck waiting your turn.
- South-coast scenery bonus: you’ll also see Skógarfoss and Seljalandsfoss.
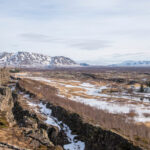
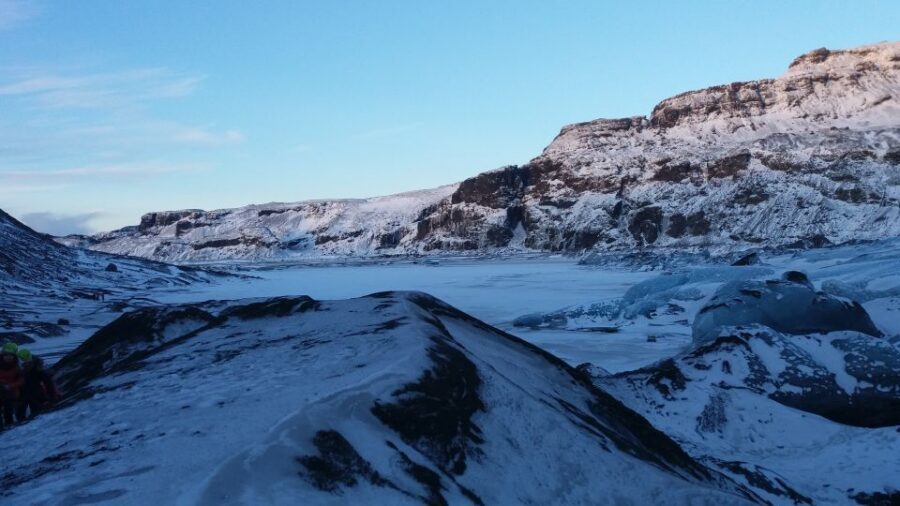
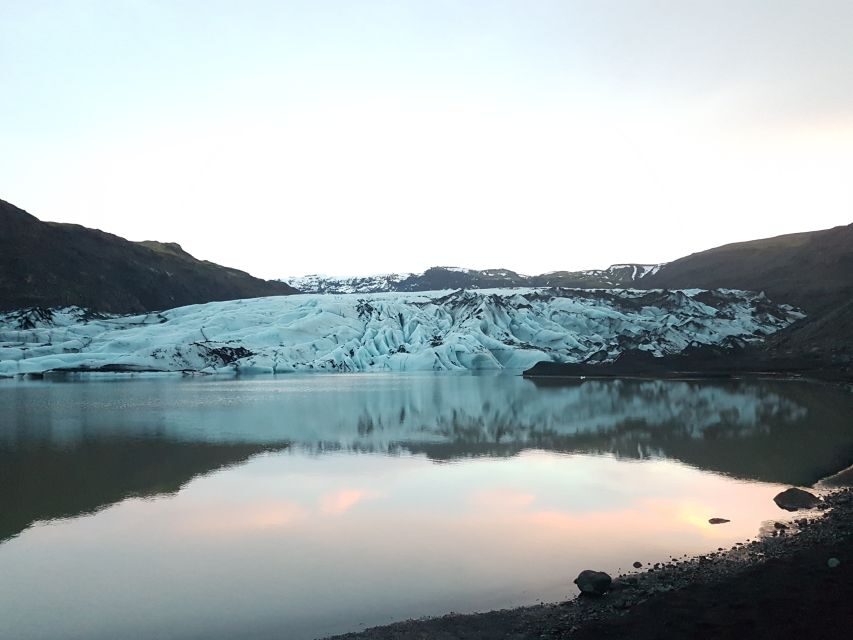
Sólheimajökull, in plain terms: why this glacier works for beginners
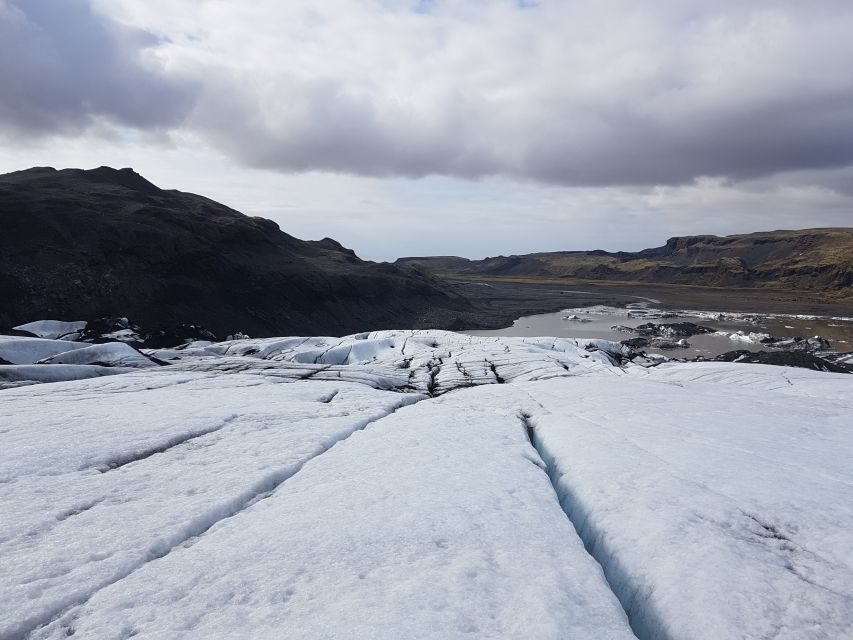
Sólheimajökull is a small outlet glacier from the Mýrdalsjökull ice cap, and that matters for your first day out. For you, it means a glacier experience that’s close enough to Reykjavík for a 4-hour tour format, without feeling like an all-day slog.
It also gives you a clear sense of what Iceland glaciers are like up close: sharp ice textures, hollow pockets, and ice walls that change with every melt and refreeze. You’re not just walking around on frozen scenery; you’re learning how to move on it.
You can also read our reviews of more tours and experiences in Reykjavik.

The drive and meeting point: what to plan for before the glacier gear
The day starts at the Sólheimajökull parking lot. You’ll drive east on road 1 past Hveragerði, Selfoss, Hella, and Hvolsvöllur, then continue on road 1 over the long single-file bridge. After that, turn left onto road 221 and keep going until you reach the end and the parking area.
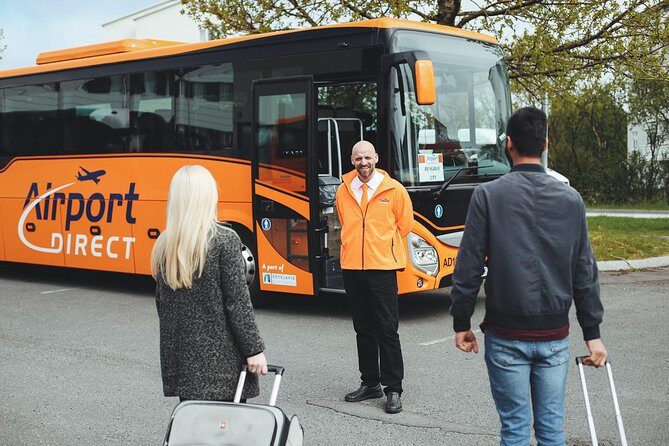
Transport isn’t included, so you’ll want to plan your own ride (rental car, shuttle, or whatever fits your Iceland itinerary). The practical upside: you can time this day to match the rest of your south-coast plans, including the waterfall stops.
Parking lot gear setup: crampons, harness, helmet, then your first lesson
At the parking lot, you’ll be given the glacier gear you need for the climb: harness, crampons, helmet, and ice axe. This is one of the smartest parts of the tour, because you get fitted and coached before you ever step onto the ice.
Once everything is on, you’re shown the basics of how the tools work. The goal isn’t to turn you into an expert; it’s to help you feel secure fast—how to keep your weight stable, how to move carefully, and how to use the axe without panic.
Even if you’ve never done anything like this, the guide instruction helps you go from zero to climbing with real confidence.
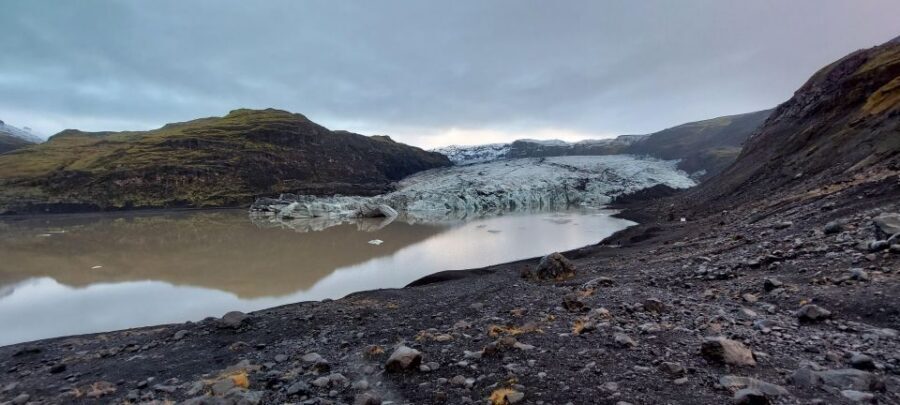
The 15-minute gravel hike: where you learn the pace you’ll need
Before you climb, you hike about 15 minutes on a gravel road to reach the base of Sólheimajökull. It’s short, but it’s still a good warm-up for cold-weather balance.
This is also where you’ll notice the rhythm of the day: slow enough for safety checks, calm enough that you can get oriented. You’re not sprinting around Iceland; you’re building habits—walking, watching the ground, and staying aware.
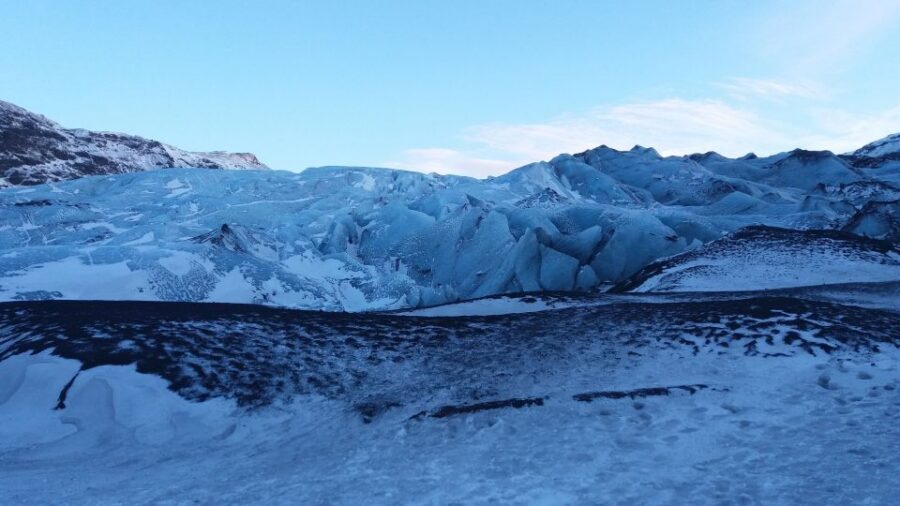
Training on the first ice wall: the moment it clicks
On the glacier, you’ll start with an easy ice wall. This is where the tour earns its beginner label.
The guide shows you the mechanics first, then you practice. You’re learning how crampons grip, how the axe helps you control movement, and how to place your feet without rushing. After that, you build comfort step-by-step.
If your goal is to say you ice climbed in Iceland, this is the part that makes it achievable. If your goal is to learn a skill, this is the part that gives you something to take home: the feeling of control on ice.

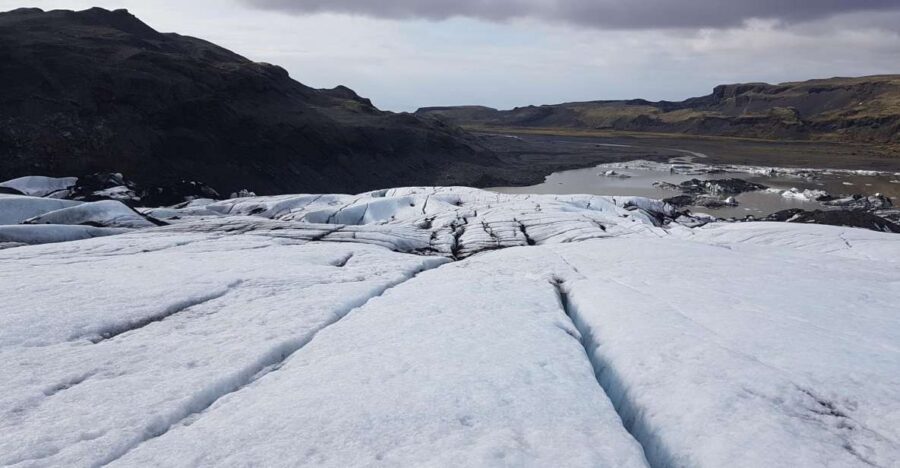
Moving between climbing spots: exploring the glacier without wasting time
You don’t just climb one wall and call it a day. You’ll walk between climbing locations so you can explore more of the glacier.
That matters because glaciers aren’t one uniform surface. You’ll see different formations—ice walls with different angles, and areas that feel softer or more solid depending on conditions. This is also how you avoid the common letdown of tours where you spend all day traveling and almost no time climbing.
Instead, you get the rare mix: actual practice time plus glacier exploration. It feels like both an outdoor adventure and a short course.
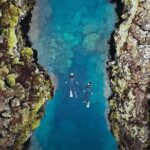
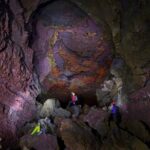
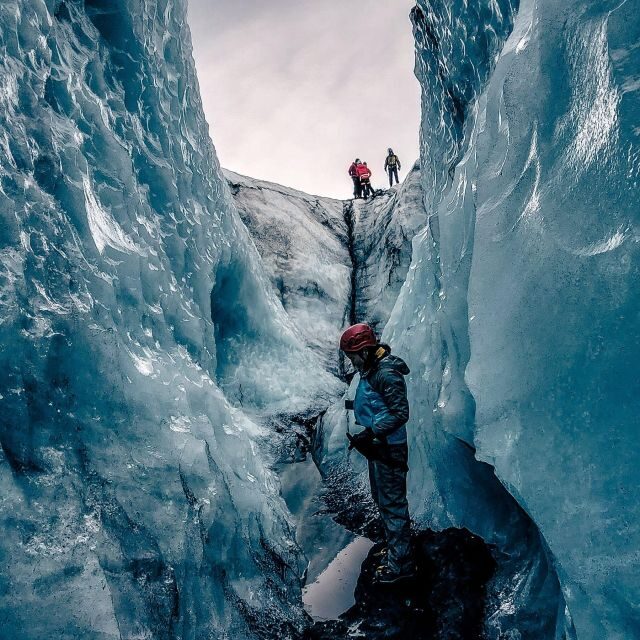
Walls plus the mulian ice hole: more variety than you expect
One of the tour highlights is that you try climbing in two to three different locations. These can include a good ice wall, and also an ice hole called a mulian.
A mulian climb is the kind of moment that makes the whole trip memorable. You’re not just standing on the surface—you’re climbing in and then back out, which forces you to use the technique you practiced earlier. It’s usually the most mind-bending part for first-timers, because your brain needs a second to catch up with what your body is doing.
The other big win is variety. Multiple routes means more chances to get your “I can do this” moment, even if one attempt feels awkward at first. It also keeps the tour from feeling repetitive.
Getting the right guide attention in a group of 5
This tour limits the group to 5 participants, which is a big deal for ice climbing. When you only have a few people, the guide can adjust for your pace and your comfort level.
In practice, this means less standing around, more coaching while you’re actively learning. You’re also more likely to get personalized corrections—like foot placement and how you hold the axe—right when you need it.
You might meet guides such as Bergur, and what stands out in the guiding style is patience plus clear instruction. The guide takes time to explain, demonstrates, then lets you try. That approach helps first-timers feel steady instead of overwhelmed.
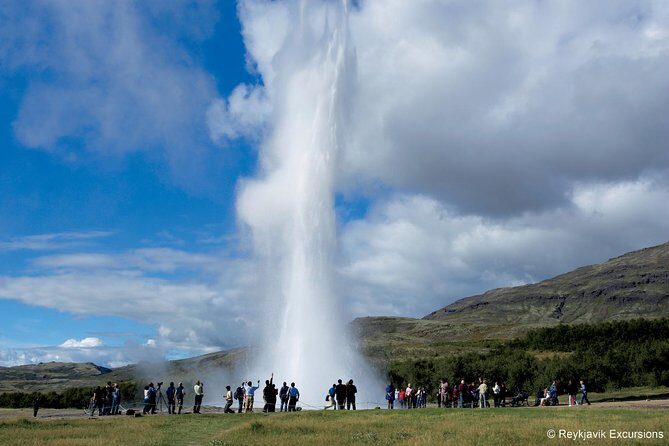
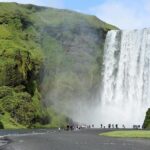
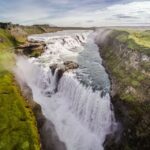
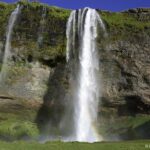
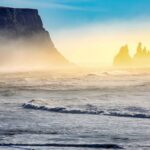
South-coast waterfall stops: Skógarfoss and Seljalandsfoss in one day
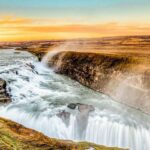
You’ll also see the south coast of Iceland, including Skógarfoss and Seljalandsfoss. This is a smart pairing because it turns a cold glacier morning into a full day of Iceland highlights.
Skógarfoss is the type of waterfall that delivers a strong first impression—power and spray you can feel from the path. Seljalandsfoss adds a different vibe, with its famous walk-around perspective that helps you see the falls from multiple angles.
The timing is designed so the glacier experience stays the center of the day, while the waterfalls function as satisfying rewards on the same route. If you’re choosing between a glacier tour and a south-coast sightseeing day, this format gives you both without doubling your driving days.
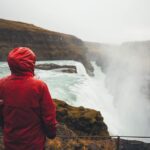
Weather reality: bring the right gear so the day stays fun
Ice climbing is not a dry activity. Even with great planning, Iceland weather can change fast—wind, mist, and cold can all show up.
So the biggest practical advice is clothing. Waterproof outer layers matter because you’ll be on ice surfaces in damp, chilly air. The tour provides glacier gear, but it does not include a waterproof jacket or trousers, and it also doesn’t include a hat or gloves.
Plan for warmth and dryness:
- Waterproof jacket and waterproof trousers
- Hat and gloves that handle cold well
- Lunch/snacks, since food and drink aren’t included
This is also where the teaching style helps. When the weather turns, the guide keeps you focused on safe movements, not on panic.
Is it hard? What beginner really means here
This is an introduction-level ice climbing experience, and no special skills are required. You don’t need to be super fit to enjoy it, but you do need to be comfortable with short hikes and using your balance on uneven ice.
You’ll climb in easy-to-moderate progression: starting with an approachable wall, then moving on to more varied spots. The guide tailors the climbing to the group’s level, so you aren’t thrown into something too advanced.
That said, it’s still real ice climbing. You’ll feel it in your legs and core, especially after a few different attempts. Think of it as a fun challenge, not a casual walk.
Price and value: $294 for gear, instruction, and real ice time
At $294 per person, you’re paying for much more than access. The price covers the glacier gear (harness, crampons, helmet, ice axe) and a local guide who teaches you basic technique and keeps the climb safe.
You’re also buying a time-efficient structure: about 4 hours total, with multiple climbing attempts rather than a single photo-stop wall. And because the group stays small, your instruction time is less diluted.
The main value trade-off is what’s not included: transport, and waterproof clothing/hat/gloves, plus food and drink. If you already have the cold-weather gear and can handle driving logistics, the price feels more reasonable. If you still need to buy or rent clothing, factor that into your total Iceland cost.
For first-timers who want a true skill experience on ice, this tends to be the kind of activity that pays you back instantly—because you leave with both memories and technique.
Who should book this Sólheimajökull ice climbing tour?
Book this if:
- You want a beginner-friendly ice climbing session on a glacier close to Reykjavík.
- You like learning outdoors with a guide who slows down and teaches step-by-step.
- You want variety: multiple climbing spots, including a mulian ice hole.
- You also want south-coast highlights like Skógarfoss and Seljalandsfoss without adding extra travel days.
You might skip it if:
- You’re pregnant (this tour isn’t suitable).
- You aren’t willing to dress for real glacier cold, wind, and wet conditions.
- You need transport provided as part of the package.
Should you book it? My decision checklist
If you want one unforgettable, hands-on Iceland activity that’s not just sightseeing, I’d lean toward booking. The combination of provided glacier gear, beginner instruction, and a small group means you’ll spend your time doing the thing, not waiting for it.
Before you book, do a quick reality check:
- Do you have proper waterproof layers and the option to add gloves and a hat?
- Can you handle a short hike plus standing and climbing safely on ice?
- Do you have transport sorted to reach the Sólheimajökull parking lot?
If you answered yes, this is a strong pick for a first glacier adventure—one that blends skill-building with real Iceland scenery and waterfall payoff in a single day.
FAQ
FAQ
What’s the duration of the Sólheimajökull Ice Climbing Tour?
The tour lasts about 4 hours.
How much does the tour cost?
The price is $294 per person.
What’s included in the tour price?
You’ll get glacier gear including a harness, crampons, helmet, and ice axe, plus a local guide.
Is transport included?
No. Transport is not included.
What do I need to bring?
Bring lunch or snacks, and plan to wear warm waterproof clothing. Hat and gloves are not included, so bring those as well.
Is this tour beginner-friendly?
Yes. It’s an introduction/beginner level experience, and no special skills are needed.
What are the climbing stops like?
You’ll start with an easy ice wall to learn basics, then move between different climbing locations. You’ll climb in two to three spots, which can include a nice wall or a mulian (an ice hole).
Is the tour suitable for everyone?
It is not suitable for pregnant women. The group is limited (small group up to 5), and the tour requires a minimum of two participants to go ahead.