REVIEW · SKAFTAFELL
Glacier Hike from Skaftafell – Extra Small Group
Book on Viator →Operated by Melrakki Adventures · Bookable on Viator
Glacier hikes in Iceland are where the wow-factor turns into real-life scale. This one focuses on max time on Falljökull and keeps the group tight, so you get real coaching instead of just following the crowd. I love the way they start with clear gear fitting and safety instruction, and I also like how the plan gives you roughly 90 minutes on the ice to look at crevasses and moulins up close.
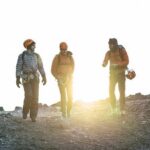
The small group size (up to 8) is a big deal here, especially for first-timers. Guides such as Havi, Kate, Javi, and Kallia show up as safety-first and hands-on, and you still get room to ask questions and take photos without feeling rushed.
One consideration: even though it’s marketed as manageable, you should expect a hike that can feel steep in spots, plus you’ll need the physical comfort to walk on icy, uneven ground with crampons.
In This Review
- Key Points I’d Prioritize
- Why Falljökull From Skaftafell Feels Worth Your Time
- Small Group Size: Up to 8 Changes Everything
- Gear and Safety: What You Learn Before You Step Onto Ice
- On Ice at Falljökull: Crevasses, Moulins, and Real Glacier Texture
- The 4×4 Ride: Getting Closer Without Wasting Your Energy
- Timing Matters: Evening Departures in Summer and the Crowds Question
- What to Bring: Boots, Layers, and Glacier Gear You Don’t Need
- Pace and Fitness: This Isn’t a Couch-Walk
- Price and Value: Why $156 Can Make Sense Here
- Who This Glacier Hike Suits Best (and Who Should Think Twice)
- Should You Book This Skaftafell Glacier Hike?
- FAQ
- How long is the glacier hike?
- Where do I meet for the Skaftafell glacier hike?
- How many people are in the group?
- What glacier gear is included?
- What boots do I need?
- Is the tour in English?
- Is there an evening departure option?
- What should I bring that is not included?
- What happens if weather is poor?
- FAQ (quick wrap)
- Can I cancel for a full refund?
- Is a confirmation sent after booking?
- Do most travelers qualify for this hike?
Key Points I’d Prioritize
- Up to 8 people max for more attention and smoother pacing.
- Helmets, harness, crampons, and an ice axe are included, so you travel lighter.
- 4×4 drop-off close to the glacier terminus means less walking just to reach the start.
- About 1.5 hours on the ice to explore crevasses, moulins, and other shapes.
- Evening departure in June–August helps you dodge some glacier crowds.
Why Falljökull From Skaftafell Feels Worth Your Time
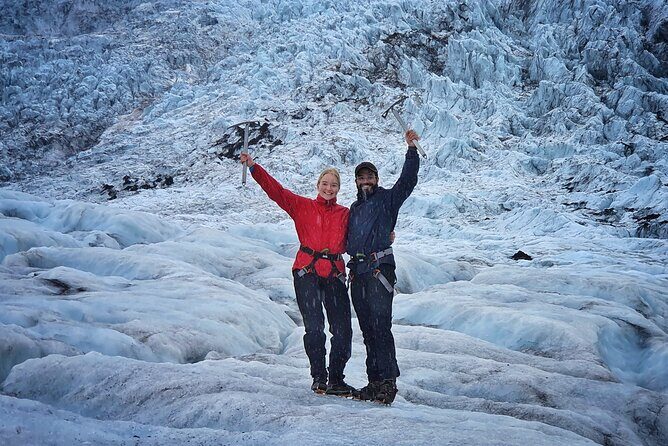
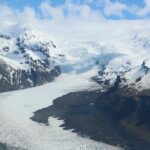
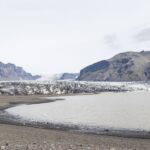
Skaftafell sits right in Vatnajökull National Park, and that’s the point. You’re not driving to a distant viewpoint. You’re going to the actual glacier experience, with a plan built around getting you out onto the ice and not burning your day on transfers.
What makes this hike work is the focus on time. They drive a 4×4 truck all the way to the terminus area of Falljökull, then you get trained gear use before you ever step onto the glacier surface. In practice, that means fewer wasted minutes and more minutes where it counts: looking closely at ice formations that feel almost unreal at first glance.
The mood also tends to be more fun than formal. Guides like Kate and Javi are repeatedly described as safety-conscious and quick to make the group feel comfortable. That matters, because stepping onto glacier ice is intimidating for many people until someone shows you how to do it properly.
You can also read our reviews of more hiking tours in Skaftafell

Small Group Size: Up to 8 Changes Everything
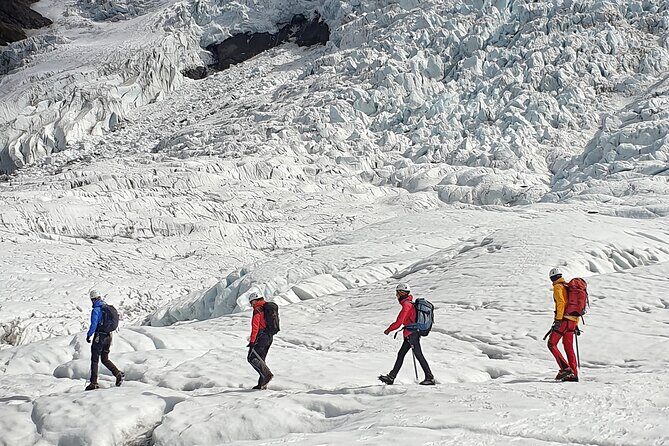
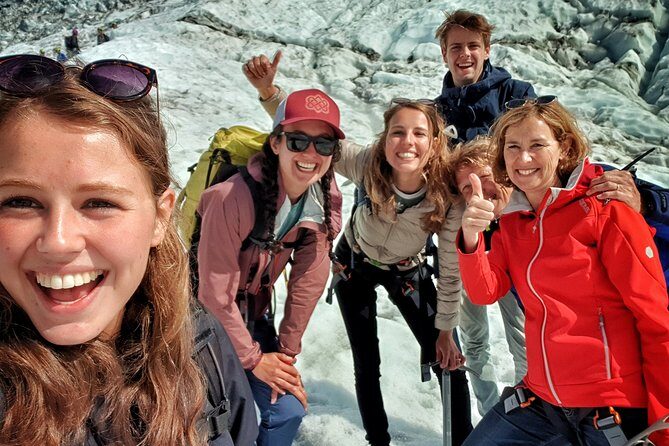
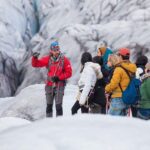
A glacier hike can be done with a crowd. This one is built to avoid that. With a maximum of 8 travelers, you get something most big tours can’t offer: room for personal help.
In the field, that shows up fast. When you’re learning crampon placement, adjusting your harness, and figuring out how to move carefully on uneven ice, you don’t want a long line of people waiting behind you. A small group keeps the pace controllable. It also makes it easier for guides to watch foot placement and posture in real time.
You’ll also feel it socially. Several guides have a reputation for making the hike interactive, from quick humor to family-friendly attention. If you’re traveling with kids, small group size can be the difference between everyone feeling included or everyone getting dragged along.
Gear and Safety: What You Learn Before You Step Onto Ice
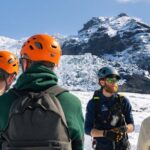
The included gear list is a strong value signal: helmets, harness, crampons, and an ice axe. You don’t have to hunt down glacier-specific equipment before your trip. More important, you learn how to use it as part of the tour.
Before you’re on the ice, the guide walks you through proper use of the equipment. That includes putting it on correctly and using it safely once you start moving across the glacier surface. This is not the kind of activity where you can freestyle. Good instruction turns a scary walk into a controlled one.
Safety talk also comes with context. Guides share facts about what you’re seeing, how these formations form, and why the glacier looks the way it does. That turns the hike into more than “walk and pose.” You start understanding the ice as a living system, which makes the crevasses and moulins hit harder.
On Ice at Falljökull: Crevasses, Moulins, and Real Glacier Texture
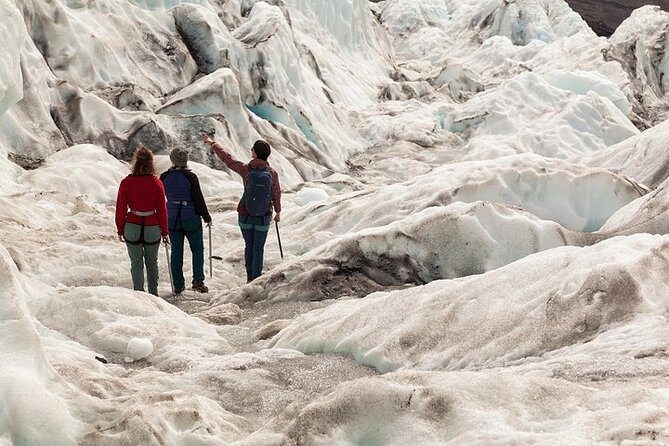
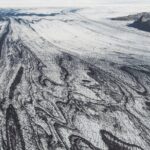
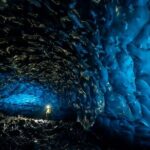
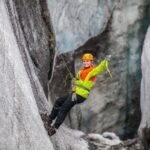
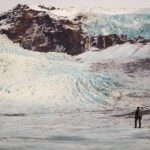
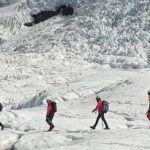
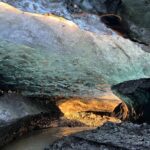
The highlight here is where the time goes. You spend around 1.5 hours on the ice, exploring other-worldly shapes like moulins and crevasses.
Here’s what those terms mean in plain language. A moulin is essentially a vertical ice “pipe” where meltwater can funnel down into the glacier. Crevasses are cracks and breaks that show stress lines within the ice. In a short walk, you get to see both types and understand that the glacier isn’t just scenery. It’s a moving, changing body.
You also get stops at interesting spots rather than a single straight line. The guide steers the group to the features that make sense for learning and for viewing. Guides described taking people off the typical route to see places where fewer hikers go, so you can end up feeling like you saw more than just the standard checklist shots.
One more detail that keeps showing up: photo help. Guides such as Kate have a reputation for helping people get pictures while still keeping everyone safe and steady on crampons.
The 4×4 Ride: Getting Closer Without Wasting Your Energy
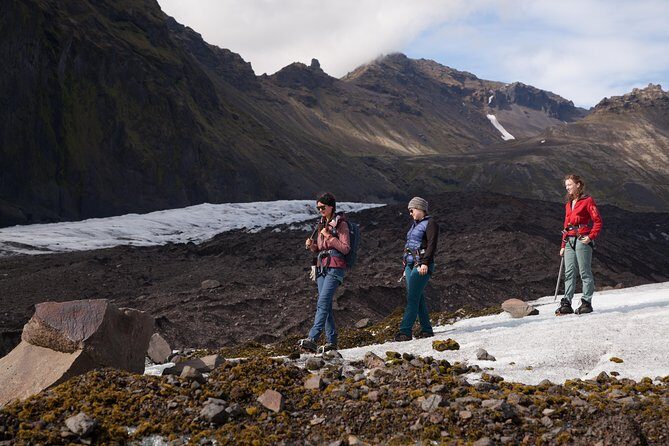
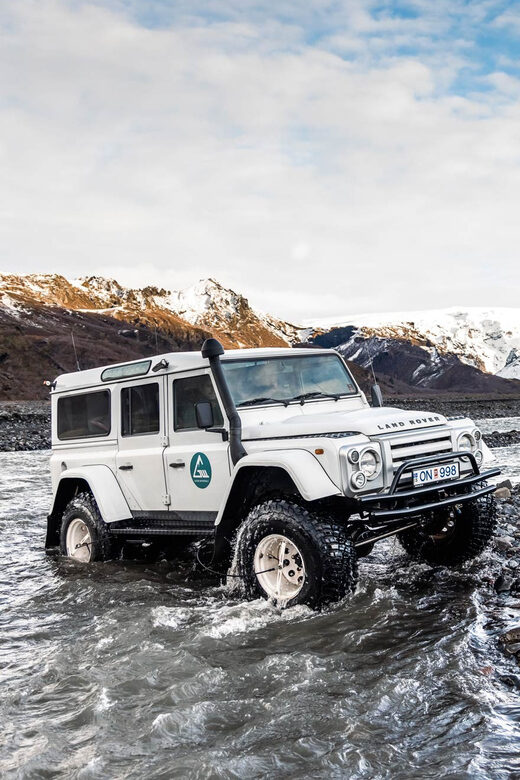
This tour does a smart thing for value and comfort: it uses a jeep/4×4 ride to reach the terminus area, which saves you time and legs compared with tours that start farther away.
In real terms, it means you don’t spend the early part of the hike grinding uphill just to reach the “real start.” Even so, there is still a hike once you’re near the glacier—some reviews mention it can be steep at times. So think of the vehicle as a time-saver, not a replacement for real movement.
If you’re trying to keep the whole day manageable, the 4×4 drop-off helps a lot. Iceland days can be weather-driven, and travel energy is a real factor. When you arrive with enough stamina to enjoy the ice, the hike feels like an experience instead of a chore.
Timing Matters: Evening Departures in Summer and the Crowds Question
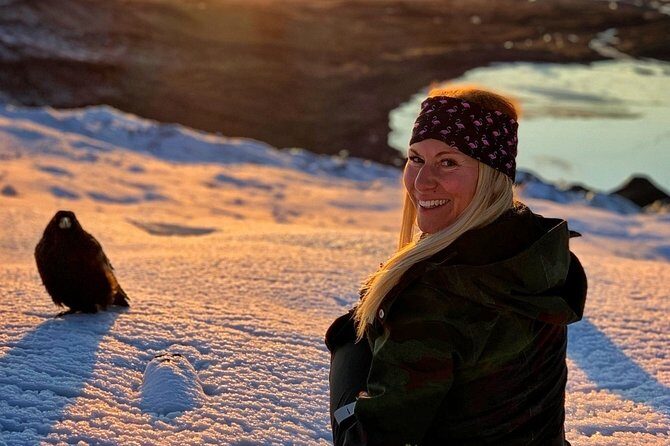
There’s a specific timing perk built in: evening departure is offered June–August. The point is simple—fewer people on the glacier at that time of day.
In addition, mornings can feel smoother. Some guides and trips are run early enough that your group reaches the ice before many other tours. If you care about quieter viewing and fewer interruptions while you look at crevasses, that early timing is a practical advantage.
Weather still rules everything. This activity requires good conditions. If the day turns icy-wrong or visibility is poor, you’ll need to accept that the hike may be rescheduled or refunded.
My advice: pick the time based on your travel style. Want the best chance at quieter glacier moments? Go earlier if possible. Want to avoid crowds later in the day during summer? Use the June–August evening option.
What to Bring: Boots, Layers, and Glacier Gear You Don’t Need
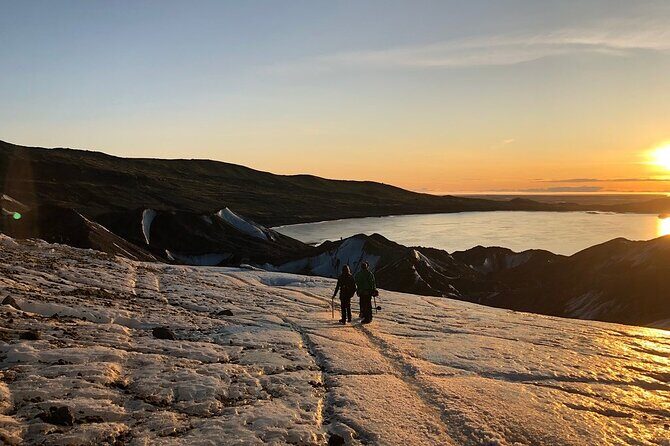
You don’t have to pack specialized ice gear for this one, but you do need the right basics.
Included:
- Helmets
- Harness
- Crampons
- Ice axe
Not included:
- Weather-dependent clothing
- Hiking boots (important detail: the minimum crampon fit is EU size 34)
- Sunglasses
- Backpack with extra layers, water, and small snacks
That EU size note matters more than it sounds. Glacier footwear fit is what lets crampons do their job. If you’re at the low end of boot sizing, plan ahead so you’re not stuck dealing with ill-fitting gear.
For most people, the practical goal is simple: warm layers you can move in, plus footwear that holds up on cold, wet surfaces. Bring sunglasses if you run into bright conditions. Water and a few snacks keep you comfortable during the training and the hike.
If you like a quick convenience, there is free WC at the check-in office mentioned in reviews, which can help before you suit up.
Pace and Fitness: This Isn’t a Couch-Walk
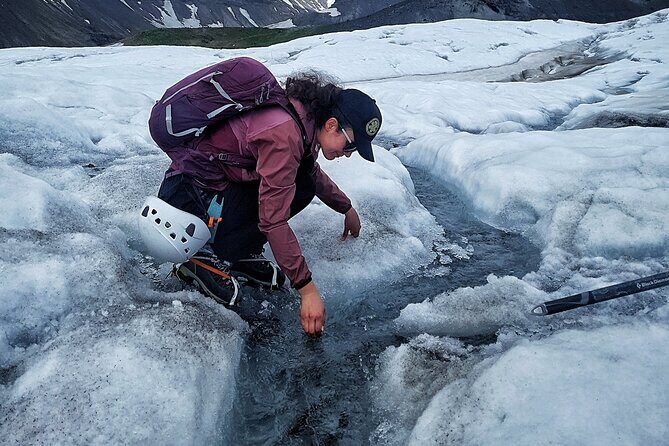
This is where you should be honest with yourself. The tour is often described as approachable, and most travelers can participate, including first-timers. But “easy” differs from person to person, especially once you’re on crampons.
Expect:
- Learning gear quickly
- Walking on uneven ice
- Some steeper sections during the trek to the ice point
Reviews highlight that the experience can be manageable for many people, but that it still requires physical capability. If you have balance issues, major mobility limitations, or you get exhausted quickly on steep paths, you should think twice.
The good news: guides adjust the feel of the hike. Some guides ask whether you want a gentle stroll or more adventure, and they keep the group moving at a pace that matches comfort while still hitting the glacier features that matter.
If you’re traveling as a family, this is one of those activities where small-group attention can reduce stress. A guide can slow down, offer reassurance, and keep kids involved.
Price and Value: Why $156 Can Make Sense Here
At $156 per person for about 3 hours, it’s not a budget activity. But it also isn’t overpriced for what you get.
You’re paying for:
- Certified, hands-on guidance (gear use plus safety)
- Included glacier equipment (helmet, harness, crampons, ice axe)
- Transportation by 4×4 close to the glacier terminus
- A plan designed to maximize ice time, not just “reach the area and stop”
The small-group cap of 8 travelers max is another value factor. In glacier country, personal help reduces the chance that you lose time because you’re figuring things out alone.
Also, the timing sweet spot can make it feel even more worth it. If you book the early morning option, you can enjoy a quieter glacier window before larger groups pile in. That’s a quality-of-experience benefit that’s hard to measure, but easy to feel.
If you compare against longer glacier hikes, this one keeps the overall tour around 3 hours. That can be ideal if you want a real glacier walk without turning your entire day into one long physical event.
Who This Glacier Hike Suits Best (and Who Should Think Twice)
This hike is best for you if:
- You want a glacier experience that’s guided and safety-focused
- You’re okay with a short but real hike on icy ground with crampons
- You value a small group and want help with gear and footing
- You’d like to see glacier features like moulins and crevasses with explanations
You might want to reconsider if:
- You’re not comfortable with steep, uneven terrain
- Your boot size could be an issue (minimum EU size 34 for crampons)
- Your travel day depends on staying low-effort for energy reasons
It’s also a strong choice for first-time glacier walkers. Several guides (Havi, Jose, Antoine, Kallia, Kate, Javi) are described as making first-timers feel safe while still delivering a fun, “I’ll remember this forever” experience.
Should You Book This Skaftafell Glacier Hike?
I’d book it if you want a well-run glacier walk with real instruction, gear included, and a group that doesn’t feel like a cattle line. The combination of 4×4 access close to Falljökull and about 90 minutes on the ice is exactly the kind of practical plan that turns a tour into a meaningful experience.
I would not book it on autopilot if you’re unsure about stepping onto uneven, steep icy ground. Even if the tour feels manageable for many people, you should be honest about your fitness and balance.
If you can, pick the time that matches your crowd tolerance: morning for quieter glacier time, or the June–August evening departure if you want to avoid crowds later in the day.
FAQ
How long is the glacier hike?
The tour lasts about 3 hours.
Where do I meet for the Skaftafell glacier hike?
You meet at Skaftafell Terminal – Tour Center, Flugvallarvegur 5, 785 Öræfi, Iceland. The tour ends back at the same meeting point.
How many people are in the group?
This experience has a maximum of 8 travelers.
What glacier gear is included?
The tour includes a helmet, harness, crampons, and an ice axe.
What boots do I need?
You need hiking boots. The minimum size needed for the crampons is EU size 34.
Is the tour in English?
Yes, the tour is offered in English.
Is there an evening departure option?
Yes. An evening departure is offered in June–August to help avoid crowds.
What should I bring that is not included?
Bring weather-dependent clothing, plus a backpack with extra layers, water, and small snacks. Sunglasses are also not included.
What happens if weather is poor?
This experience requires good weather. If it’s canceled due to poor weather, you’ll be offered a different date or a full refund.
FAQ (quick wrap)
Can I cancel for a full refund?
Yes. You can cancel up to 24 hours in advance for a full refund.
Is a confirmation sent after booking?
Confirmation will be received at the time of booking.
Do most travelers qualify for this hike?
Most travelers can participate.