REVIEW · VIK
Sólheimajökull Ice Climb and Glacier Hike
Book on GetYourGuide →Operated by Troll .is · Bookable on GetYourGuide
Crampons turn walking into serious fun. On Sólheimajökull, Iceland’s famous outlet glacier, you get a real hands-on ice climb with certified guidance and close-up views of ice formations, crevasses, and tunnels, in a small group. Guides like Maria (and others who’ve led recent groups) focus on teaching you how to move confidently on Sólheimajökull without guesswork.
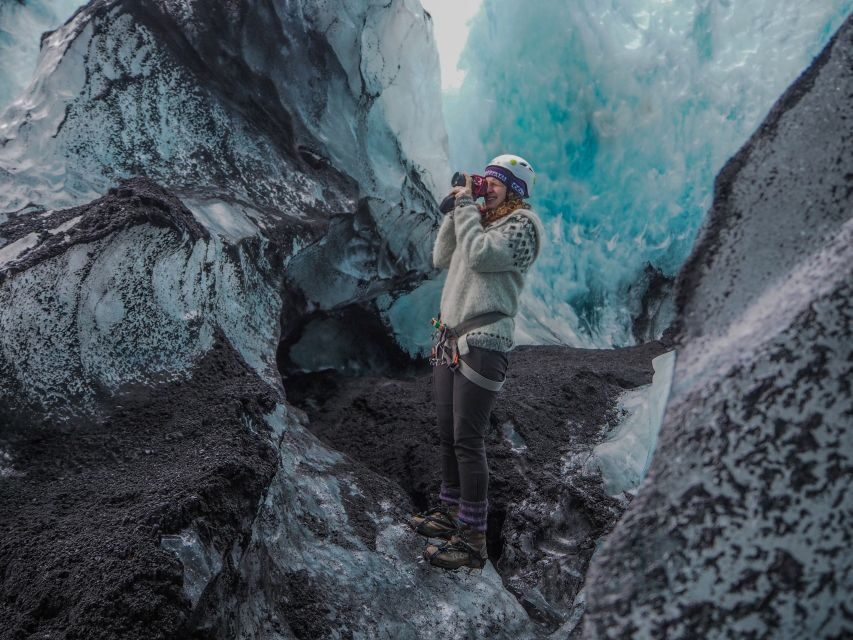
I especially love the safety culture here: you’re fitted with the climbing system (helmet, harness, crampons, ice axe, ropes) and walked through what to do before you go up. I also like the pacing for nervous first-timers—people who are new to climbing still get patient coaching, reassurance, and plenty of chances to take photos safely. Coffee and chocolates after the climb are a small but welcome touch, too.
One thing to consider: this is physically demanding, and you’ll be on dense ice during a 4-hour session. You’ll also need to show up properly dressed—warm layers, rain gear, and gloves matter—because this is an outdoor glacier environment, not a casual stroll. It’s also not suitable for children under 12.
In This Review
- Key points to know before you go
- Why Sólheimajökull makes a better first ice climb
- Where the day starts: Tröll Expeditions and your gear moment
- The safety briefing that makes the climb feel doable
- The hike across the glacier: getting your legs under you
- Up the ice walls: crampons, axe, and a rope system
- The views and photo moments (without risky hero shots)
- Weather reality check: what to wear so you can enjoy it
- Price and value: is $241 worth it?
- Who should book this Sólheimajökull climb
- Should you choose this tour or look for another glacier day?
- FAQ
- How long is the Sólheimajökull Ice Climb and Glacier Hike?
- Where do we meet for the tour?
- What’s included in the price?
- What should I bring?
- Is the tour suitable for children?
- What language is the tour guide?
- Is there free cancellation?
Key points to know before you go
- Small groups (max 6) mean you get hands-on attention when you’re learning ice-climbing basics.
- Gear is included: crampons, ice axe, harness, helmet, and ropes—so you’re not scrambling for equipment.
- Certified glacier guide-led climb: you learn technique and then practice it under safe supervision.
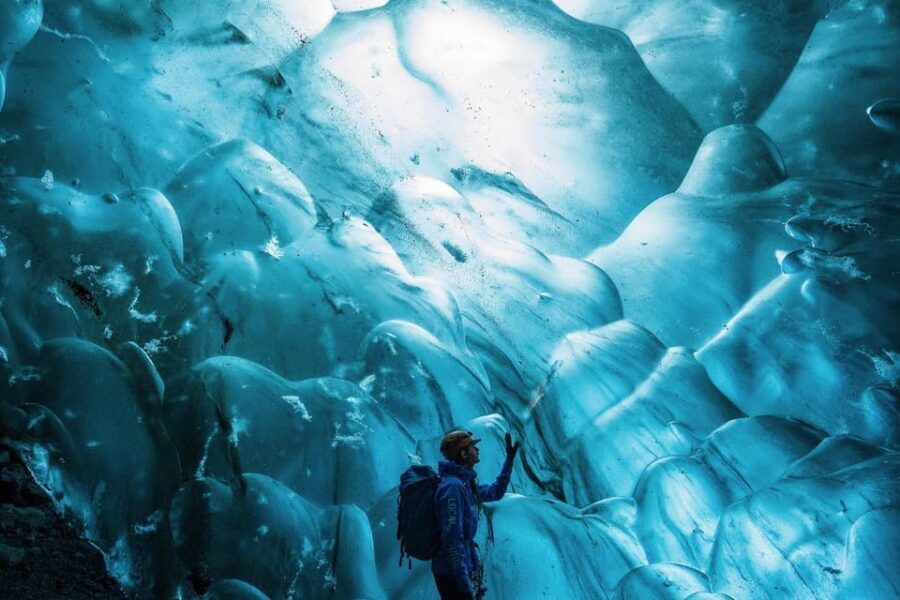
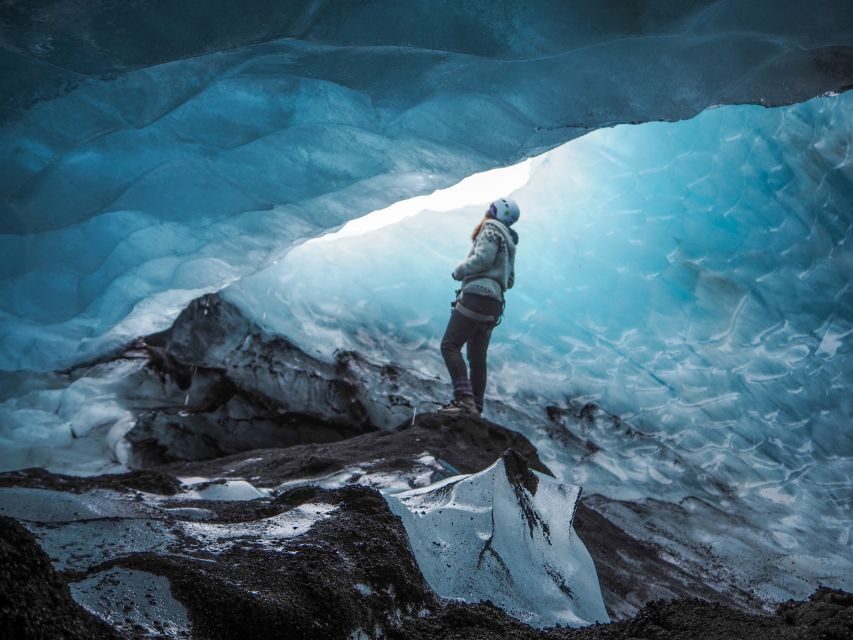
- Sólheimajökull visuals up close: crevasses, tunnels, and ice walls you only see this way.
- Flexible bonus options: some groups have the chance to check out a new ice cave if conditions and timing allow.
Why Sólheimajökull makes a better first ice climb
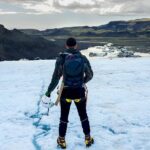
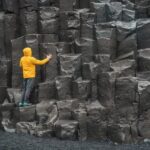
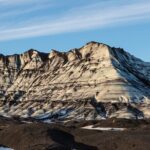
Sólheimajökull is one of those Iceland spots where the ice looks dramatic even before you lace up crampons. It’s also an outlet glacier tied to the broader story of climate change, which gives the experience more weight than a simple photo stop. You’re not just looking at ice—you’re learning how it behaves and how people safely explore it.
For a first ice climb, this glacier has a big advantage: the day is structured so you start on foot, then you build toward the ice-wall section. That matters when your body is trying to figure out new movements. With the right coaching, you go from cautious steps to actually using the techniques the guide teaches.
You can also read our reviews of more hiking tours in Vik
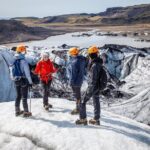
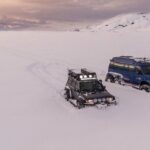
Where the day starts: Tröll Expeditions and your gear moment
Your morning begins at the Sólheimajökull Glacier parking lot, where you meet the team at Tröll Expeditions Solheimajökull. From there, the focus is quick and practical: you get your safety equipment fitted so it feels like part of you, not a weird costume you’re stuck in for hours.
The gear list is a core part of why this tour is good value. You’ll have climbing boots plus glacier equipment: helmet, harness, crampons, ice axe, and ropes. That means you can pack light and avoid last-minute equipment shopping. It also means you show up knowing the hardware is appropriate for the glacier conditions that day (not guessing from rental gear that’s meant for something else).
You’ll also get coffee and chocolates included. It’s not a gimmick—after time on cold ice, something warm and sweet helps you reset, and you’ll likely appreciate it more than you think.
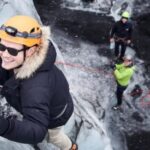
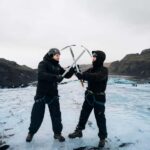
The safety briefing that makes the climb feel doable
Before you start climbing, there’s a dedicated safety briefing on the glacier. This is the part that turns a scary idea into a plan. The guide explains the basics of ice climbing and what to look for as you move on dense ice.
What I like about this style is that it’s not just rules and fear. It’s technique: how to place crampons, how to handle the ice axe, how to move with control instead of tension, and how the rope system supports you. If you’re new, this is where you learn the mental checklist—what to do, what not to do, and how to keep your balance.
This is also where guides earn their keep. In recent groups, different guides have been praised for being very safety conscious and patient with first-timers—whether you’re fit but nervous (fear of heights shows up a lot) or just unsure what your body is supposed to do on ice. People like Maria, Adam, Hang, Nate, Kevin, and Helki have stood out for reassurance and calm instruction.
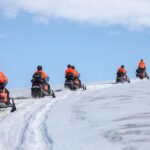
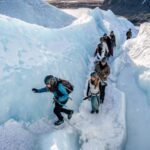
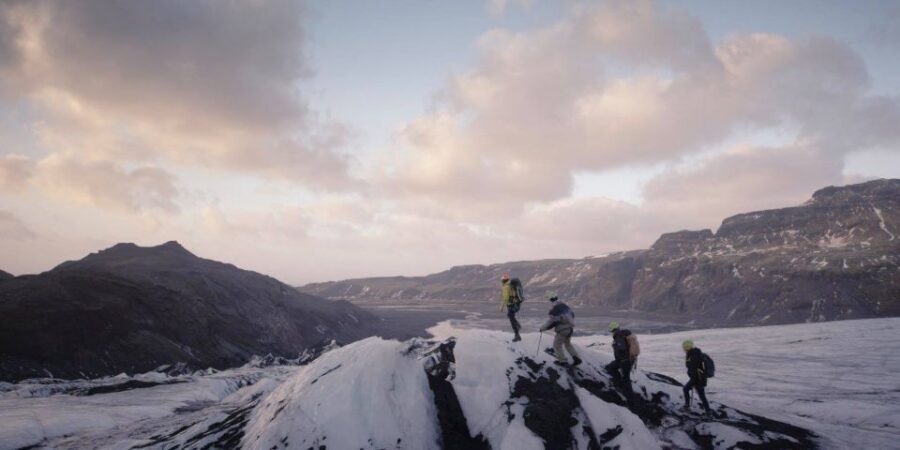
The hike across the glacier: getting your legs under you
After the briefing, you transition into hiking across the glacier. This isn’t just transport to the climb spot—it’s part of how you learn. The walking section helps you adapt to crampon traction, ice texture, and the kind of footing that feels different from rock climbing or normal hiking.
Expect a staged progression: you hike for about an hour, then you do another walking segment as part of the overall route back. That structure matters because it keeps the day from becoming one long grind. It also gives your guide time to reposition the group and set you up for the climb at the best location.
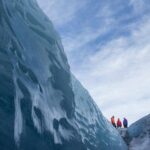
You’ll also get close-up views of glacier features as you go. Crevasses and ice formations aren’t background scenery here; they’re real features you learn to respect. The point is not to “rush to the scariest spot.” The point is to understand what you’re walking over and what the guide is watching for.
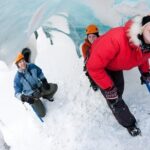
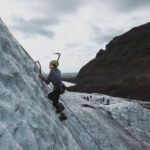
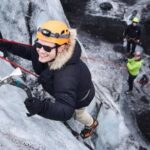
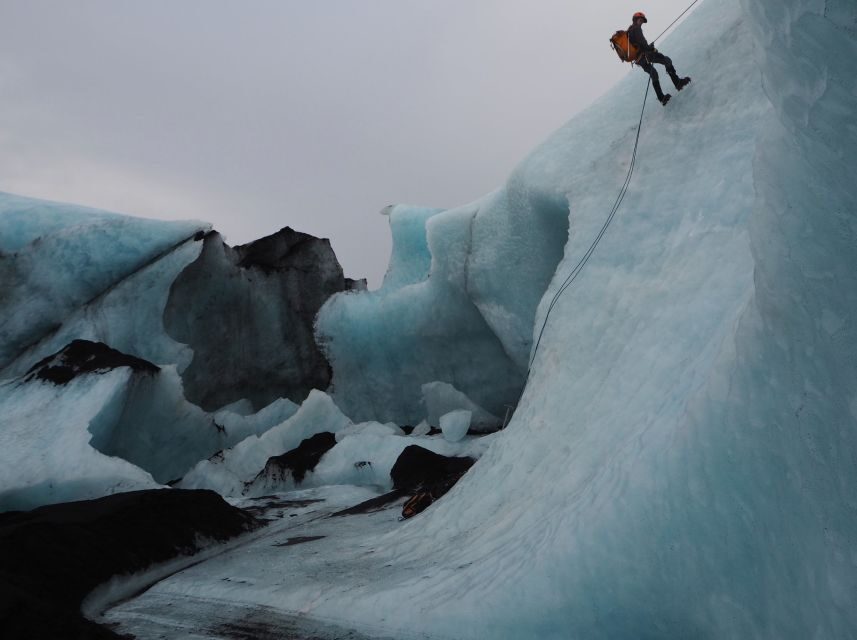
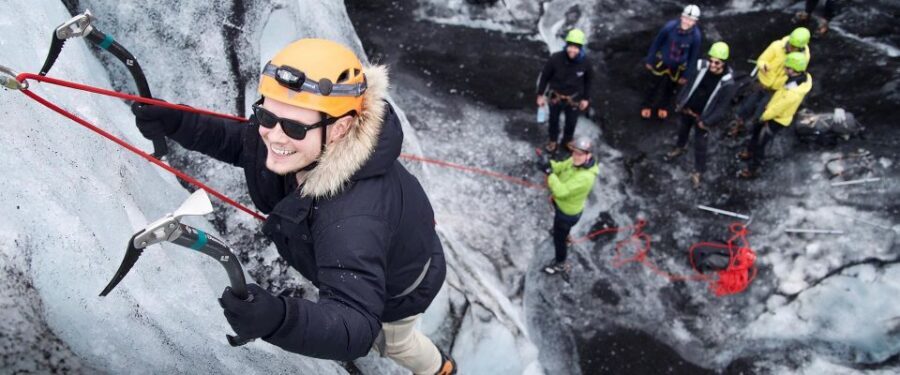
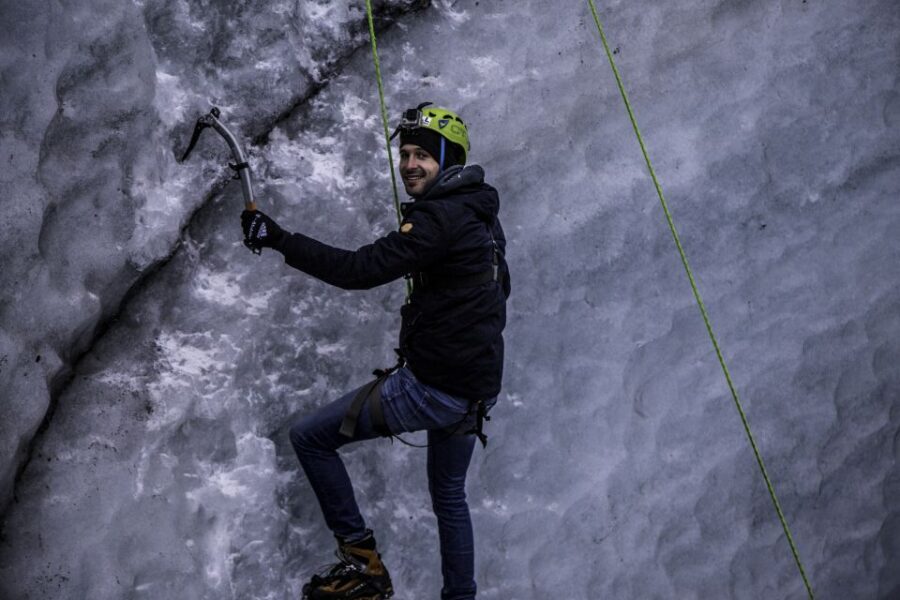
Up the ice walls: crampons, axe, and a rope system
Here’s the headline: you climb the ice walls of Sólheimajökull. This is the part that turns a hike into an adventure you’ll remember. And even if you’ve never climbed anything, the climb is taught step-by-step.
Typically, the guide sets up the ice-climbing system before you start. That setup is what allows you to focus on technique—placing crampons carefully, using the ice axe for stable contact, and following instructions for spacing and movement. In other words: you don’t have to reinvent the wheel while your heart is pounding.
This climb section is also where you’ll notice the difference between “being near ice” and “being on ice.” Up close, you see how the glacier’s surfaces form and how the ice changes in texture. You might spot crevasses and tunnels nearby, which can look almost unreal until you’re standing close enough to appreciate scale.
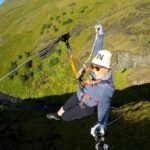
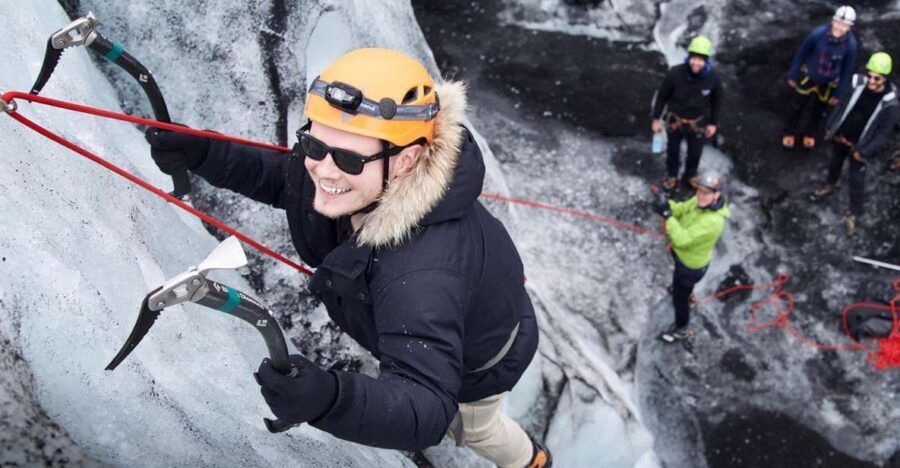
If fear of heights or unfamiliarity with exposure is your concern, you’ll still have a chance to do this. The coaching style on these climbs is built around reassurance—guides help people manage nerves, find stable positions, and take photos from safe angles. One nervous-but-determined climber described getting all the way to the top through patience and guidance, and that’s the general vibe: controlled support.

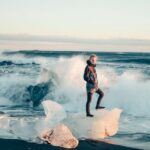
The views and photo moments (without risky hero shots)
You’ll likely want photos, and you’re going to get them. But the smart move is to let the guide decide where you can stop and stand safely. In recent groups, guides were specifically praised for finding safe spots for taking pictures and watching the group closely.
That’s important because glacier photography often tempts you to step where you shouldn’t. The right approach is to stay where the guide sets the position, then enjoy the view. This is how you get the sharp shots without turning the experience into a slip-and-recover story.
Also, the ice’s look changes with angle. Crevasses and ice tones can shift depending on where you stand relative to the sun and the wall. So yes, move when the guide says move. But don’t chase the perfect angle at the cost of stability.
Weather reality check: what to wear so you can enjoy it
Glaciers don’t care about your fashion choices. This tour is outdoors on dense ice, so warm clothing and rain gear are part of the deal. Hiking shoes are required, and gloves are necessary to protect your hands—don’t treat gloves as optional unless you want your hands to feel it.
A good packing mindset is: you should be warm enough that you’re thinking about the climb, not just surviving the cold. Because once you’re fitted with crampons and using an axe, your hands and wrists matter. Wet and windy conditions make gloves even more important.
If you’re planning layers, aim for warm, flexible clothes that don’t restrict movement. You’ll likely be moving a lot more than you expect once you’re on ice.
Price and value: is $241 worth it?
At $241 per person for a roughly 4-hour guided experience, this isn’t a “cheap add-on.” The value comes from what’s included and how closely you’re guided.
You get:
- A certified glacier guide
- Glacier equipment (helmet, harness, crampons, ice axe, ropes)
- Climbing boots
- Coffee and chocolates
That’s the core value math. You’re paying for safety gear plus expert supervision plus time on a glacier where access, conditions, and risk aren’t trivial. If you were to source the equipment yourself and find instruction on ice, costs and hassle would likely stack up fast.
The small-group size (limited to 6) also matters. With fewer people, the guide can coach more directly and keep attention where it counts—especially on the ice-wall section.
Who should book this Sólheimajökull climb
This tour is best for you if:
- You want your first ice-climbing experience with strong safety coaching
- You like hands-on learning (not just viewing ice from a distance)
- You’re comfortable hiking on outdoor terrain for a few hours
It may not be right for you if:
- You’re not willing to wear cold-weather layers and gloves
- You have strong mobility limits that make crampon walking difficult
- You’re bringing kids under 12 (it’s not suitable)
Even if you’re an experienced hiker, expect a learning curve. Ice is its own system. The good news is that the guides are often praised for being patient and reassuring with people who have never climbed before.
Should you choose this tour or look for another glacier day?
If your goal is a real glacier experience—ice walls, crampons, and guided technique—this is a strong choice. The structure (briefing, hike, then climb) helps you build confidence instead of starting at the hardest part. And the consistent praise for safety consciousness and calm instruction suggests the company takes the “guide job” seriously.
But if you want something more relaxed, with minimal physical effort, you might find this more work than expected. This is still a hike and climb on dense ice. It’s adventurous, not gentle.
If you’re torn, my practical advice is simple: match the day to your comfort level. If you can handle cold gear, a bit of cardio, and following instruction carefully, you’ll likely come away proud and excited.
FAQ
How long is the Sólheimajökull Ice Climb and Glacier Hike?
The duration is 4 hours.
Where do we meet for the tour?
You meet at the Sólheimajökull Glacier parking lot (Tröll Expeditions Solheimajokull).
What’s included in the price?
Included are a certified glacier guide, climbing boots, glacier equipment (helmet, harness, crampons, ice axe, and ropes), and coffee and chocolates.
What should I bring?
Bring warm clothing, hiking shoes, rain gear, and gloves.
Is the tour suitable for children?
No. It isn’t suitable for children under 12.
What language is the tour guide?
The live tour guide is in English.
Is there free cancellation?
Yes. You can cancel up to 24 hours in advance for a full refund.