REVIEW · ICELAND
Skaftafell: Hvannadalshnjúkur Glacier Guided Hike
Book on GetYourGuide →Operated by north ice · Bookable on GetYourGuide
Skaftafell turns a long hike into a full-on glacier day, and this one heads straight for Iceland’s top. I like the focus on a guided summit plan with clear checkpoints and a “get you there” mindset, and I really like how you’re taught glacier basics step by step so the hike feels safer, not mysterious. My only caution: this is a 10–14 hour glacier hike that demands good fitness, because the guides can turn you around for safety if you’re not keeping up.
From the gravel start at Skaftafell to the final push with crampons, the day has a steady rhythm: walk, gear up, pause to refuel, and then commit to the summit when conditions allow. Price is not cheap at $766 per person, but you’re paying for the guide time, the private-local attention, and all the glacier equipment you need for Hvannadalshnjúkur—so you’re not shoehorning this into a budget group tour that can’t slow down for people.
In This Review
- Key highlights you’ll feel on the day
- Where Skaftafell National Park and Hvannadalshnjúkur Meet
- Your full day plan: early start, summit timing, and the walk rhythm
- 1) The morning hike: gravel, rocks, and snow
- 2) Breaks built into the climb: snacks, lunch, and water
- 3) Gear up time: harnesses and rope up near the reef
- 4) After lunch: the plateau approach
- 5) Crampons for the final push
- 6) The top: views toward Hrútfellsindar, Þumall, and Vatnajökull
- 7) Downhill: easier than the ascent, still long
- Glacier gear that’s included (and what you should still bring)
- Fitness, safety, and the reality check before you book
- Views of Hrútfellsindar, Þumall, and Vatnajökull: why the summit is the point
- Price and value: what $766 buys you (and what it doesn’t)
- Who this hike fits best (and who should skip it)
- Tips that make the day smoother
- Should you book Skaftafell: Hvannadalshnjúkur Glacier Guided Hike?
- FAQ
- How long is the Hvannadalshnjúkur glacier hike?
- Where does the tour start?
- Is hotel pickup included?
- What’s included in the tour price?
- Is food and drink included?
- What languages are the guides?
- How big is the group?
- Do I need to be in good shape?
- What’s the cancellation policy?
Key highlights you’ll feel on the day
- Private-local guide attention in a small group (max 6) for a more personal pace
- Summit target on Hvannadalshnjúkur, the highest point in Iceland
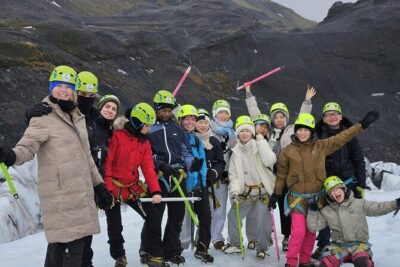
- Proper glacier systems: harnesses, ropes, and crampons when it matters
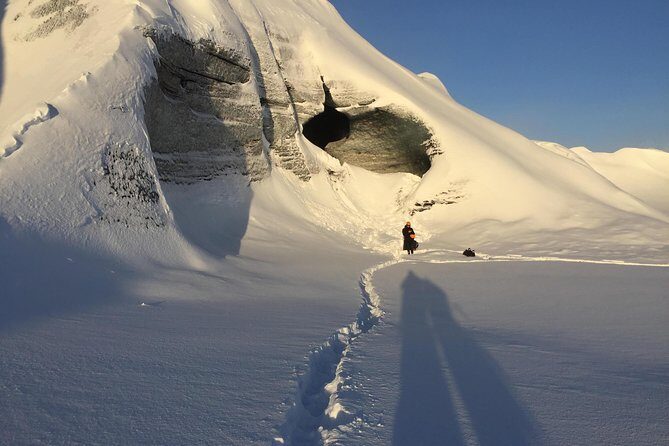
- Skaftafell National Park scenery all day, not just at the top
- Big-view payoff toward Hrútfellsindar, Þumall, and part of Vatnajökull
Where Skaftafell National Park and Hvannadalshnjúkur Meet
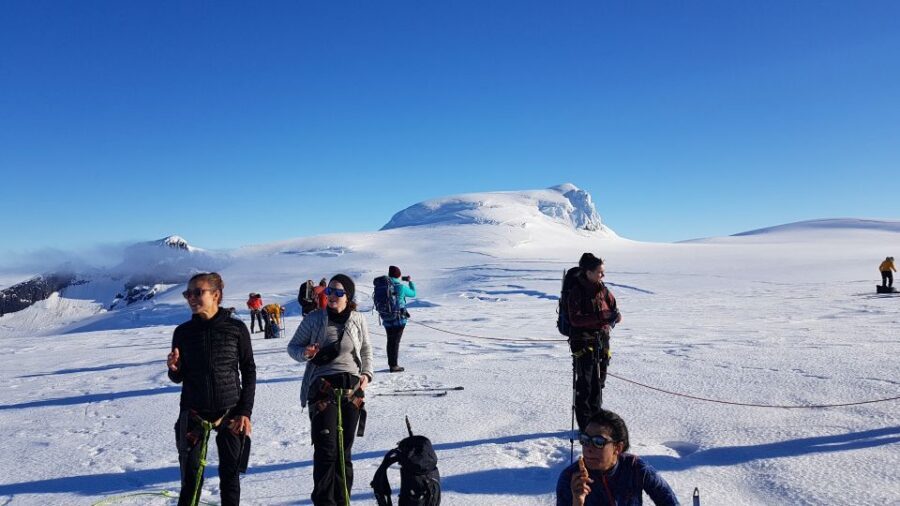
Skaftafell National Park is already known for dramatic ice-country scenery, but this experience focuses the drama into one mission: reach the summit on Hvannadalshnjúkur. You’re operating in Iceland’s big “push-and-pull” environment—weather can change, snow and rock mix underfoot, and the glacier doesn’t care about your schedule. That’s exactly why having a professional mountain guide is the difference between a tough hike and a confident one.
This tour also has a practical advantage that I think matters more than people expect: it’s not just “go see a glacier.” You’re walking for hours on mixed ground, then getting equipped for the glacier portion. In other words, you learn what you need before things get steep or technical, instead of guessing at the gear later.
And yes, you will likely spend most of the day thinking about your feet, your breathing, and the next check-in. That’s not a downside—it’s part of the satisfaction. When you finally reach the top, your brain has done the work already.
You can also read our reviews of more guided tours in Iceland
Your full day plan: early start, summit timing, and the walk rhythm
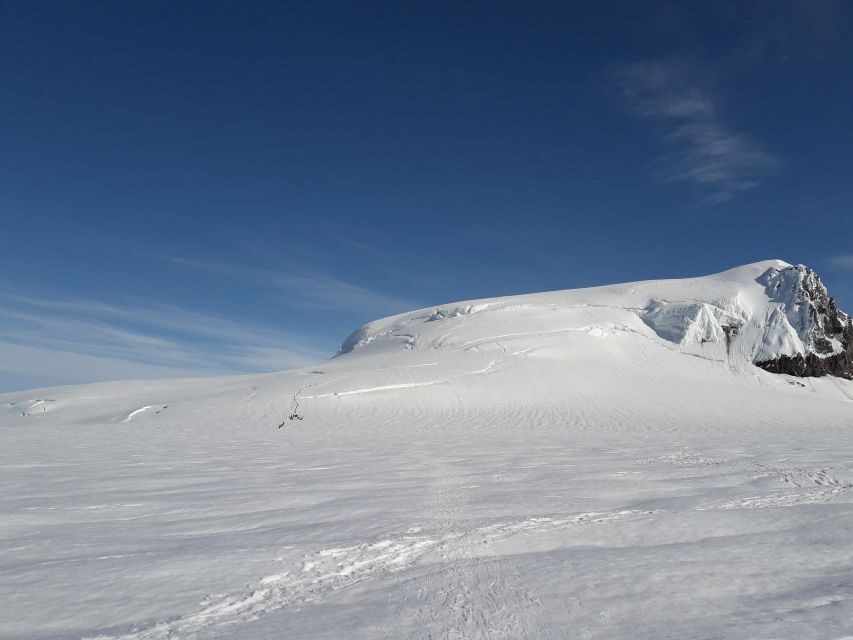
The tour runs about 13.5 hours total, and it starts early the next day at the Skaftafell area information point. You’ll meet near Sandfell öræfi, then begin hiking with the goal of getting to the summit by 1:00 PM when conditions allow. The departure time can be flexible based on everyone’s experience level, which is a big deal for a group this small—no one gets left behind because the clock says everyone must move at the same speed.
1) The morning hike: gravel, rocks, and snow
You start with a mix of surfaces—gravel, rocks, and snow. This matters because it isn’t one “uniform” trail. Some sections feel like regular hiking; others feel like your ankles have their own opinions. Your guide’s job here is partly navigation and partly pacing, so you don’t burn out early.
Also, this is your warm-up stage. If you’re smart about layering (not overpacking heat, not being underprepared), your body stays comfortable as the terrain shifts. If you go too warm, you’ll cook by the time you stop. If you go too cold, you’ll start shivering before the glacier section.
2) Breaks built into the climb: snacks, lunch, and water
You’ll stop at various points for snacks, lunch, and water. Since food and drinks are not included, treat these breaks as timing windows to use your own supplies. I like this setup because it gives you structure without forcing a specific meal plan. You can eat what works for you—something salty, something easy to digest, and enough water to keep your energy steady.
Practical tip: bring food that won’t turn into a chore. If you have to wrestle with packaging while wearing cold-weather gloves, you’ll delay eating and then pay for it later.
3) Gear up time: harnesses and rope up near the reef
At the reef, you’ll put on harnesses and rope up. This is where the glacier reality kicks in. Even if you’re an experienced hiker, the glacier is a different environment—slopes can feel deceiving, and snow conditions can change what a “safe footing” means.
The tour is designed so your guides go over how the day works and how the gear functions. That reduces the stress of doing technical steps in a new setting. Once you’re roped up, your movement becomes slower and more deliberate, and you’ll notice everyone’s pace tightens to match the group.
This part is also a good moment to ask questions if you have them—how to adjust your harness, how to move efficiently in crampons later, and what body position feels best on rope-protected sections.
You can also read our reviews of more hiking tours in Iceland
4) After lunch: the plateau approach
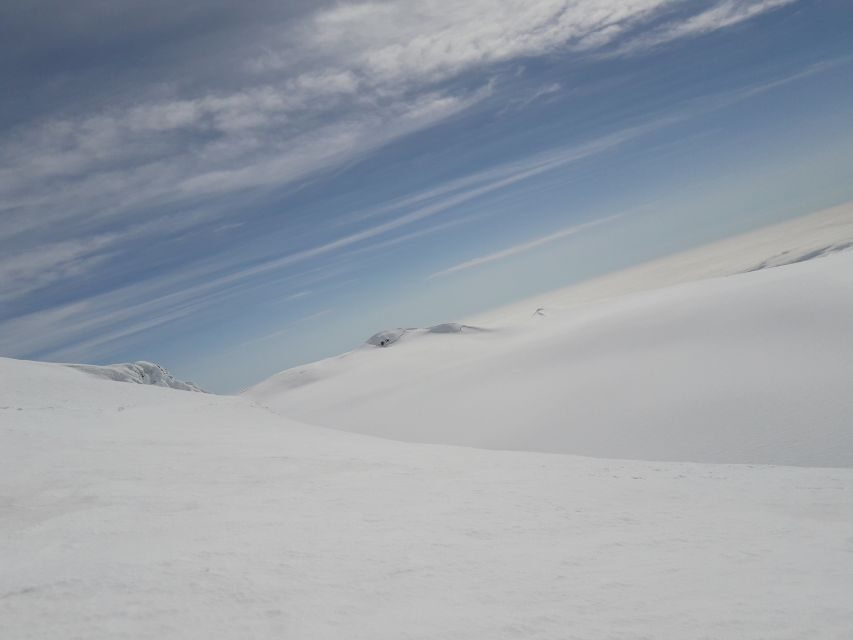
After lunch, you’ll reach the plateau leading to the summit. Think of the plateau as the mental reset point. The steep “conversion” from hiking to glacier travel has happened, and now you’re settling into the final grind.
Plateaustrength is about endurance. You’ll likely feel it in your legs in a way that’s different from regular hiking. Your stride shortens, you focus on stable steps, and you keep your breathing controlled. It’s not glamorous, but it’s effective.
5) Crampons for the final push
Before the summit itself, you’ll put on crampons and make the final climb. This is the moment you’ll be glad you brought proper hiking shoes and warm layers. Crampons add traction, but they also demand good foot placement. If you try to walk too fast or too casually, you’ll lose efficiency.
From here, it’s a climb you do in chapters: steady steps, short pauses, and constant check-ins by the guide. The goal is to keep the group safe and together—because on a glacier, “together” is not just a courtesy.
6) The top: views toward Hrútfellsindar, Þumall, and Vatnajökull
From the summit, you’ll get views of Hrútfellsindar, Þumall, and part of the Vatnajökull ice cap. Whether you get truly clear views depends on weather, but the plan is built around making the most of a good day.
When you reach the top, take your time—grab photos, look around, and let your brain register what you accomplished. The summit view feels big not because it’s just wide, but because it includes the scale of the ice cap system around you.
7) Downhill: easier than the ascent, still long
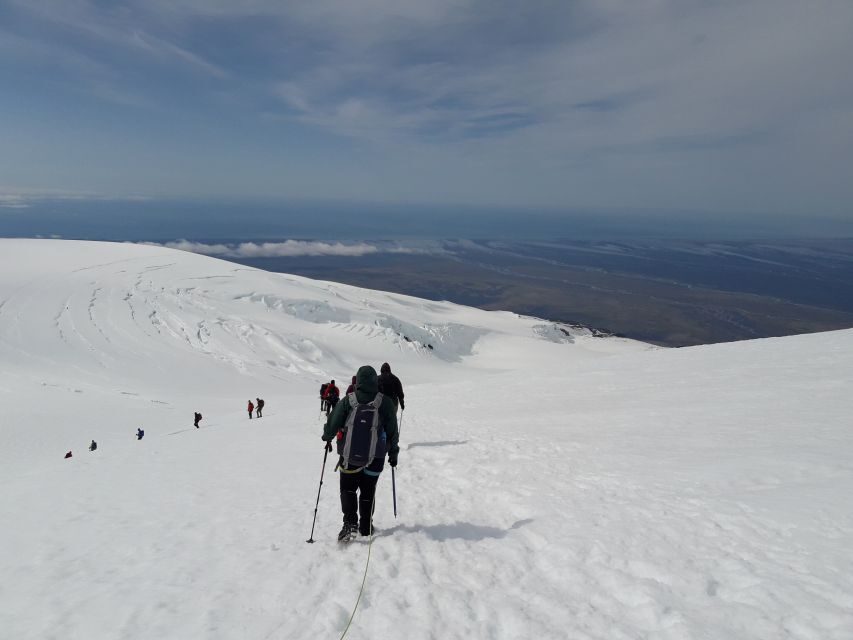
Once you’ve taken everything in, you’ll hike back down. The descent will not take as long as the ascent, but it still counts. Expect tired quads and the need to keep your footing careful, even when you feel like you want to “just speed up.”
Descent is where mistakes happen—people get impatient. Your best move is to treat it like controlled hiking: small steps, keep your rhythm, and don’t rush the glacier sections.
Glacier gear that’s included (and what you should still bring)
One of the best value points of this tour is that all glacier gear is included. That typically means you don’t need to hunt down rentals days before you arrive, or worry whether your gear is compatible with the conditions you’ll face.
You’ll use gear on the day like:
- harnesses and rope systems on glacier travel sections
- crampons for the final summit push
Even with all gear provided, you still control comfort. What you bring matters. You’ll want:
- warm clothing
- sunglasses (ice glare is real)
- hiking shoes with solid grip
- rain gear
- a daypack
Layering is your friend here. A glacier hike punishes bad layering fast because you may feel hot during climbs, then cold during breaks. If you pack one heavy coat only, you’ll likely regret it at some point. Instead, plan for easy temperature adjustments.
And since alcohol and drugs are not allowed, keep the day focused. This is a working hike, not an “I’ll celebrate at altitude” situation.
Fitness, safety, and the reality check before you book
This tour is described as lightly challenging for the glacier hike, but don’t let that phrase trick you. You’re looking at 10 to 14 hours of hiking, and your legs will do serious work. “Lightly challenging” here is about the technical nature of the hike, not about the stamina required.
The tour also includes a clear safety stance: the guides can turn you around if they see you are not in good enough shape to continue. That matters for your planning—don’t treat this like a casual activity you can “wing” with average fitness.
So here’s how to self-check before you go:
- Can you handle long days on your feet?
- Can you maintain steady effort for hours, even when the ground is uneven?
- Do you have hiking shoes that feel secure on rock and snow?
If you answer yes, you’ll probably enjoy the day. If you answer no, you’ll spend the last third miserable and possibly end up pulled back for safety.
Also, the tour is not suitable for pregnant women or wheelchair users, based on the requirements of the hike and glacier safety.
Views of Hrútfellsindar, Þumall, and Vatnajökull: why the summit is the point
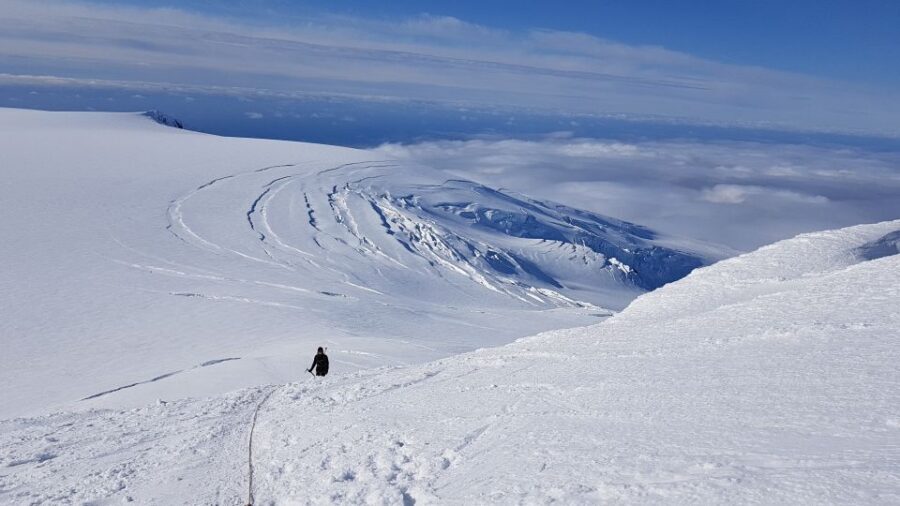
Many glacier tours stop short of Iceland’s highest summit. This one makes the summit the objective, and that changes the feel of the whole day. Instead of bouncing around viewpoints, you’re building toward one payoff.
When you look toward Hrútfellsindar and Þumall, you’re seeing how different peaks and terrain relate to the ice cap system. Part of Vatnajökull shows up in the distance as scale—something your photos won’t fully capture because your body is there too, tired and satisfied.
Clear-day visibility is the big variable. The day is planned with the goal of reaching the summit by 1:00 PM, but weather can still influence how the guide manages the timing and final effort. That’s normal in Iceland. Your best strategy is to come prepared for cold, wind, and changing light even if the morning looks calm.
Price and value: what $766 buys you (and what it doesn’t)
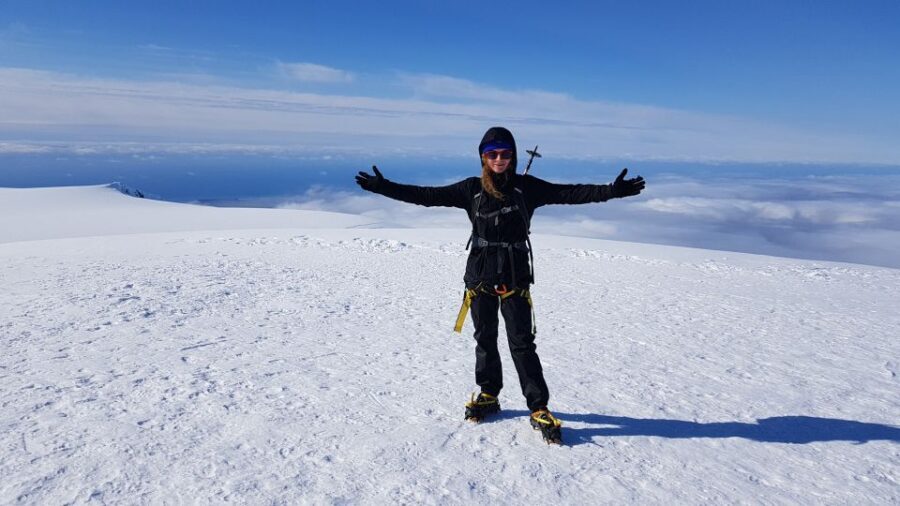
At $766 per person for a total 13.5-hour day, this isn’t a cheap excursion. Here’s the real value math: you’re paying for a professional mountain guide and all glacier gear, plus the time it takes to do a guided summit attempt safely with a group capped at 6.
You’re also paying for less stress in the days leading up to the hike. Glacier equipment and rope/harness systems aren’t “nice-to-have” extras. If you had to assemble it yourself, the total cost in rentals, logistics, and guesswork would likely climb anyway.
What’s not included is also clear. Food and drinks aren’t included, and there’s no hotel pickup. That means you should plan your own snacks and lunch for the break points. If you like having control over what you eat, that can actually be a positive. If you hate planning, it’s a small headache you should factor into your trip.
Net-net: this price makes sense if you want the summit experience with proper gear and a tight group. If you want a scenic glacier walk without a long effort and technical additions, you’ll likely feel the cost more than the payoff.
Who this hike fits best (and who should skip it)
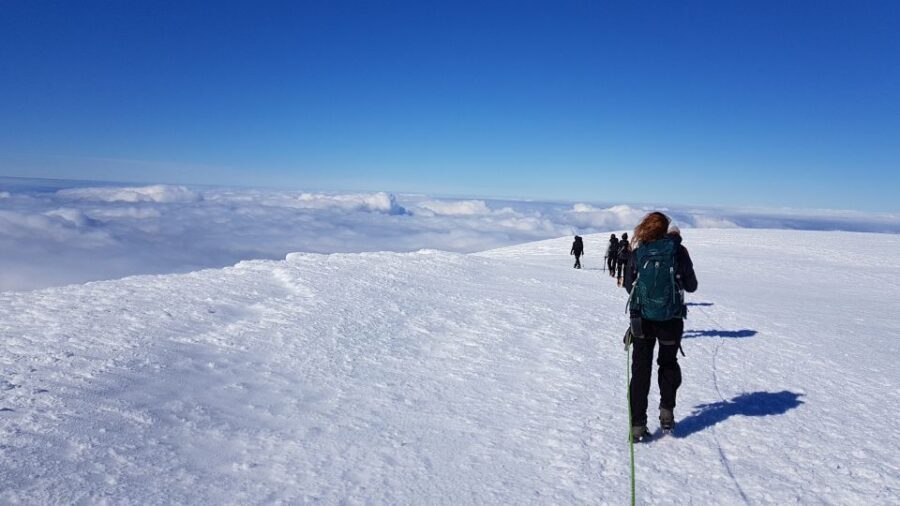
This tour is best for people who:
- want to hike to Iceland’s highest summit rather than just see glacier scenery
- are comfortable with a full-day commitment (10–14 hours of hiking)
- enjoy structured guidance and don’t mind gear-up steps like harnesses, ropes, and crampons
- like the idea of a small group where the pace can adapt
You’ll likely enjoy it most if you’re the kind of traveler who gets satisfaction from doing something hard the right way. Not just “look at it,” but “learn it and finish it.”
You should probably skip if you:
- don’t have the fitness for long hiking days
- need wheelchair-accessible routing
- are in a situation where long glacier exposure is not a good match, such as pregnancy (not suitable)
Tips that make the day smoother
Bring your best hiking shoes and plan for wet cold. You’ll be walking on mixed ground, and Iceland weather has a habit of changing the rules mid-episode.
Also:
- Pack sunglasses. Ice glare makes it hard to relax.
- Bring rain gear even if the sky looks cooperative. Short forecasts can’t outsmart a glacier day.
- Bring a daypack that stays comfortable when you’re tired. If your bag shifts, you’ll feel it for hours.
- Eat at the planned breaks. Don’t wait until you feel wrecked.
And one more thing: keep your expectations flexible about summit timing. The tour aims to be on the summit by 1:00 PM, but the guide adjusts based on the group.
Should you book Skaftafell: Hvannadalshnjúkur Glacier Guided Hike?
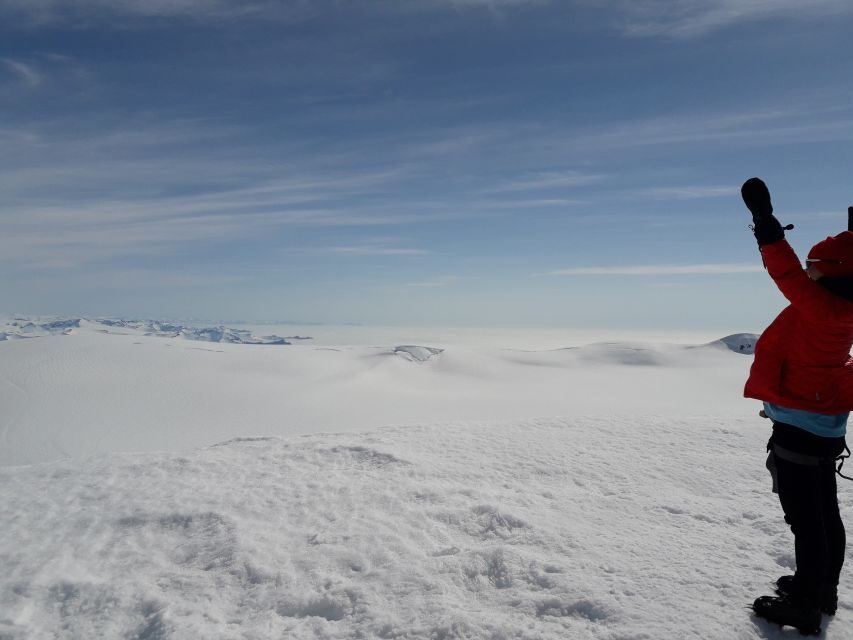
Book it if you want the real summit experience with professional guidance, all glacier gear provided, and a small group that keeps the day practical. It’s a long, serious hike, but the structure helps you stay on track: gear up when it’s time, refuel at planned breaks, and push with crampons for the final climb.
Skip it if you’re looking for something short, casual, or low-effort. This is not that. It’s also not the tour for people who can’t commit to long hours on their feet or who aren’t safe on glacier terrain.
If you’re fit, prepared, and excited by the idea of reaching Iceland’s highest point on a major glacier, this feels like one of those days you’ll remember because you earned it, step by step.
FAQ
How long is the Hvannadalshnjúkur glacier hike?
The total duration is about 13.5 hours.
Where does the tour start?
You meet in the Skaftafell area, with the meeting point listed as Sandfell öræfi.
Is hotel pickup included?
No. Hotel pickup is not included.
What’s included in the tour price?
You get a professional mountain guide and all glacier gear.
Is food and drink included?
No. Food and drinks are not included, even though you’ll have planned break points for snacks and lunch during the day.
What languages are the guides?
Guides are available in English and Icelandic.
How big is the group?
It’s a small group limited to 6 participants.
Do I need to be in good shape?
Yes. The tour requires good shape, and the guides can turn you around if they feel you’re not in good enough condition for safety.
What’s the cancellation policy?
Free cancellation is available up to 24 hours in advance for a full refund.